A photograph that looks good at full resolution can appear slightly soft after substantial downsizing. Conversely, broad sharpening fringes can become conspicuous in a small file. Output sharpening accounts for the final use. It does not replace accurate focus or an appropriate shutter speed, and should not be used to present a badly shaken capture as technically sharp.
Set the target size first
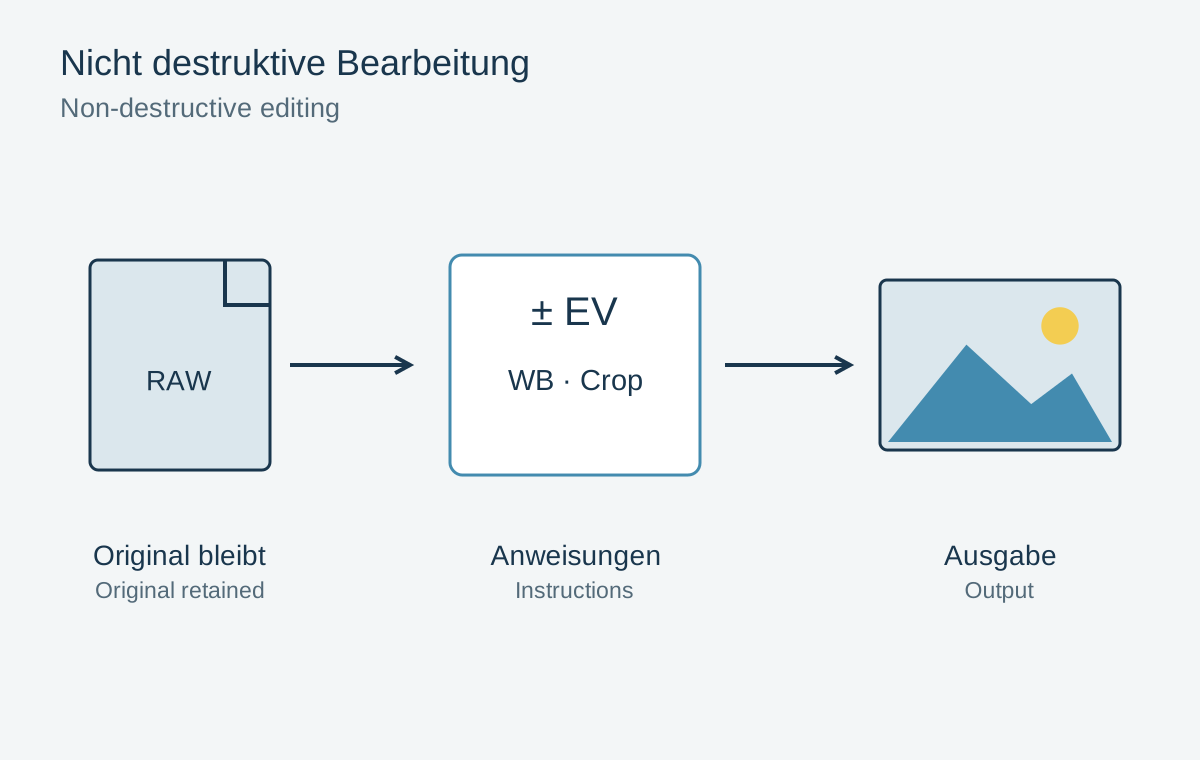
Decide whether the file is for a website, a small print or a larger reproduction. Determine the required pixel dimensions and resize an output copy. Keep the high-resolution original and its editable processing. One final sharpening setting need not suit every version.
For a website, inspect the image at its intended display size. A huge file shown in a tiny window can conceal problems through browser scaling. An appropriately sized image is easier to assess reliably. Also account for additional automatic processing by the destination platform.
Enhance edges rather than redraw them
Sharpening typically increases contrast along edges. Too much strength creates bright or dark fringes; an excessive radius can make fine shapes look coarse. Inspect a high-contrast roofline, hair against a bright background and small lettering. Smooth skin or sky should not become unnecessarily gritty.
Use an edge restriction or mask where helpful so sharpening concentrates on real structures. Compare briefly with the correction disabled: the image should look clearer rather than outlined with a pen. Stronger contours cannot restore genuine iris detail to a badly focused eye.
Prepare separate web and paper versions
A landscape photograph is needed as a 1600-pixel-wide web image and a 40 cm print. Create both from the same editable master, not from the same already sharpened small copy. Resize the web version first and judge it at exactly that size. The print version retains the pixels required for paper and receives its own output treatment.
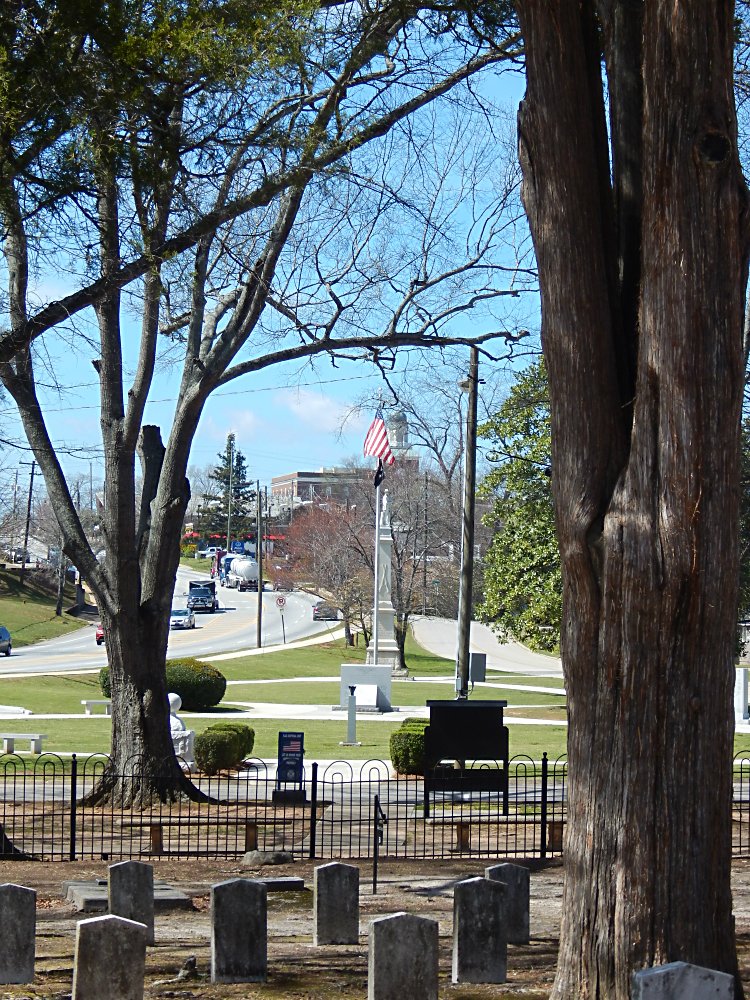
Find a branch against bright sky, a textured wall and smooth water in the scene. The branch reveals fringes, the wall shows fine-detail impression and the water exposes amplified noise. A setting making only the wall more impressive may already be excessive elsewhere.
If the export dialog adds automatic sharpening, account for processing already applied. Two individually moderate stages may combine too strongly. Name outputs by purpose and size, and preserve a master without permanently baked-in final output sharpening. A third use then remains possible without processing an already double-sharpened file.
Paper needs its own comparison
A screen comparison cannot fully predict how a paper surface reproduces detail. For important work, print a small section at final scale, perhaps using two restrained sharpening versions. Label the backs so the judgement does not depend on remembering a slider value.
Inspect from normal viewing distance and closer for distracting fringes. Reuse the chosen setting only under comparable conditions. Another size, paper or differently detailed photograph may need adjustment. Avoid additional automatic sharpening when the service is meant to reproduce your already prepared file unchanged.