A white shirt may look yellow under a lamp and blue in shade. White balance determines which lighting colour the rendering should compensate for. It does not automatically make every object correct: a yellow object remains yellow, and two differently lit halves of a face often cannot both be neutralized with one global setting.
Start with a suitable reference
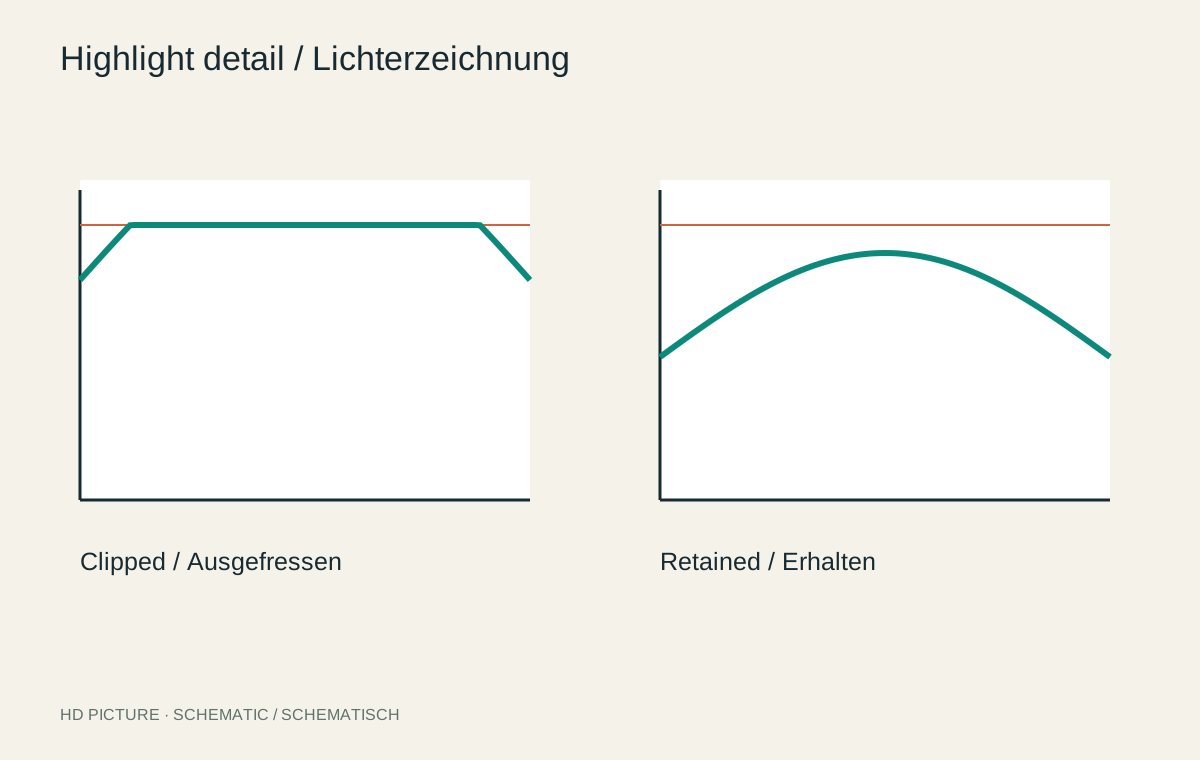
Look for something that was genuinely neutral grey or white under the relevant light. A purpose-made grey card is more reliable than a supposedly white wall that might be painted cream. Do not sample a clipped reflection: the channel differences needed for a useful assessment are missing there.
The reference must receive the same light as the subject. A card beside a window is of little help when a person is illuminated solely by a warm table lamp. Photograph the card at the subject’s position, then remove it for the picture itself. Keep the lighting consistent through a series.
Assess temperature and tint separately
The temperature control shifts the impression between bluish and yellowish. Tint typically works between green and magenta. If a picture looks green despite suitable warmth, increasing temperature further does not address the real problem. Adjust one direction at a time while watching neutral surfaces and skin.
Compare the result with the character of the scene as well. Candlelight may appropriately look warm. Full neutralization can remove that atmosphere. A product photograph, conversely, should not become arbitrarily warmer simply because it seems more pleasant. The required accuracy depends on the purpose of the picture.
A portrait beside a window and lamp
Imagine a face lit by a window on the left and a warm lamp on the right. Clicking globally on a white shirt may improve one side while making the other unnatural. First identify the area most important to the picture and balance it conservatively. Then consider whether the second lighting colour can remain as part of the situation.
If it distracts, restrict that half of the face with a soft mask. Adjust temperature and, where needed, tint only enough for the sides to work together. The transition across nose, cheek and neck matters more than one isolated perfect patch. A strictly vertical colour boundary immediately reveals the edit.
For a new capture, changing the light is often simpler. Switch off the troublesome lamp or turn the person so one source dominates. Later white balance cannot compensate indefinitely for different spectral characteristics or missing colour information. If fabric looks strange despite a neutral grey card, investigate the light source as well as the slider.
Mixed light and file limits
With mixed lighting, first decide which area matters most. Balance the face, for example, and address a differently illuminated background with a soft local mask if necessary. Inspect the transition: a sudden change in skin colour is more distracting than a slight natural cast.
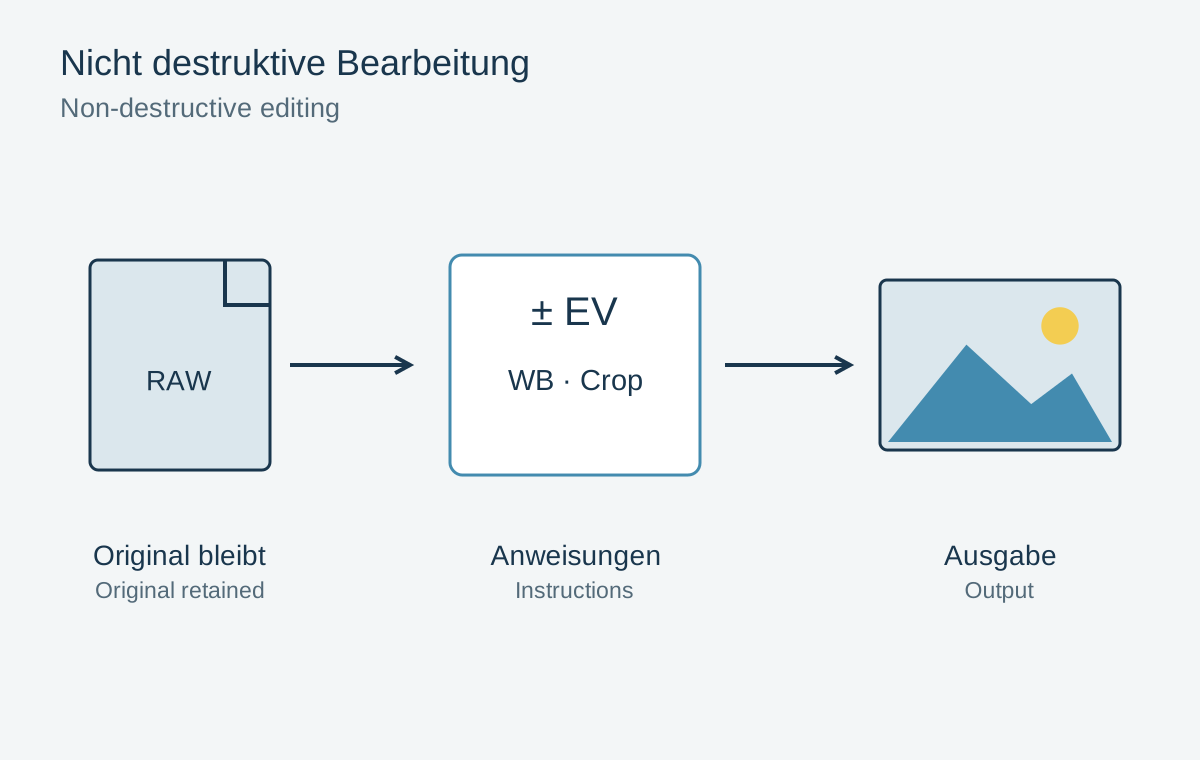
RAW files usually allow more white-balance flexibility than already rendered JPEGs. Strong JPEG corrections can reveal colour steps and noise. Save a new export instead of repeatedly overwriting the original. Assess the finished version on a neutrally configured display rather than with a warm night-viewing mode enabled.