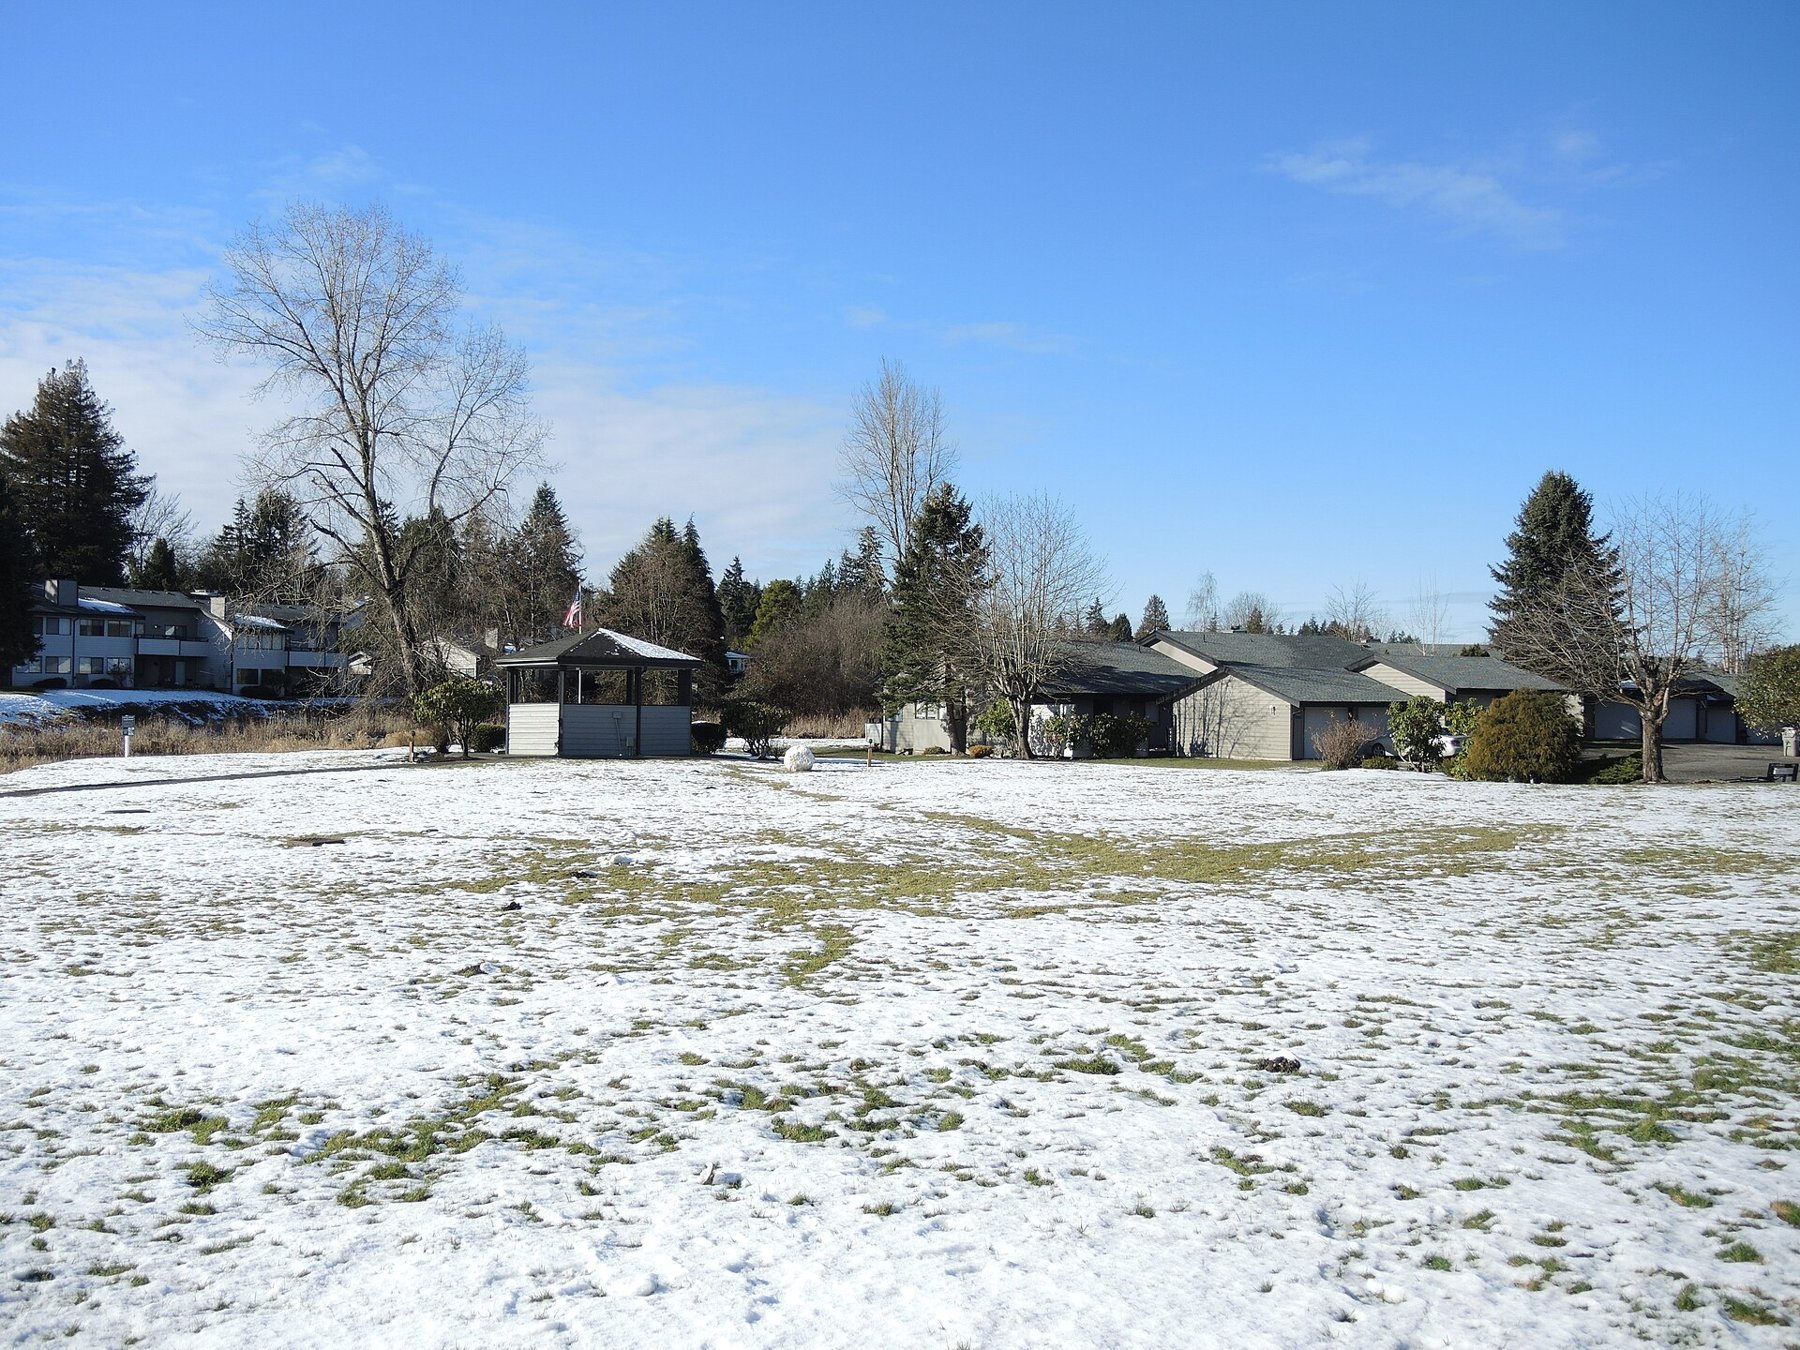
A snowy field can look grey in a photograph even though it appeared brilliantly bright in person. The meter may render a very bright scene darker than you perceive it. Positive exposure compensation can help, but it should follow inspection of snow texture and important subject areas rather than a rigid rule for every winter scene.
White with texture rather than an empty patch
Take a test frame and inspect bright snow edges, tracks or small ridges. Increase exposure gradually if snow looks too dark. A histogram weighted to the right is normal when snow dominates. The limit for this particular intention is reached when important bright surfaces lose their gradation.
A person in dark clothing changes metering according to framing. Moving closer and including less snow can make the same compensation suddenly excessive. Recheck after substantial framing changes. Under constant light, suitable manual settings may produce more consistent results across a series.
Blue is not always a fault
Snow in shade may appear blue because it reflects skylight. Sunlit areas can look warmer at the same time. White balance that neutralizes every shadow may turn sunny areas unnaturally yellow. Decide whether a cool winter impression belongs to the scene and judge both regions together.
Under overcast skies, small shapes and surface differences become useful. Side light reveals tracks and drifts more clearly than fully frontal light. Find a clear line or darker object as a reference. Not every winter photograph needs deep black shadows; a restrained tonal range may preserve the soft atmosphere better. Plan your position before walking across untouched snow. Your own footprints may later cross the foreground. A slightly higher or sideways viewpoint often separates existing tracks and snow edges more clearly.
Account for the conditions
Keep spare batteries protected and avoid unnecessary lens changes in falling snow. Carefully remove moisture before storing equipment and follow manufacturer guidance when moving between cold and warm surroundings. Inspect not only exposure but also droplets or condensation. A milky image may originate at the optics and cannot be solved through further exposure compensation.