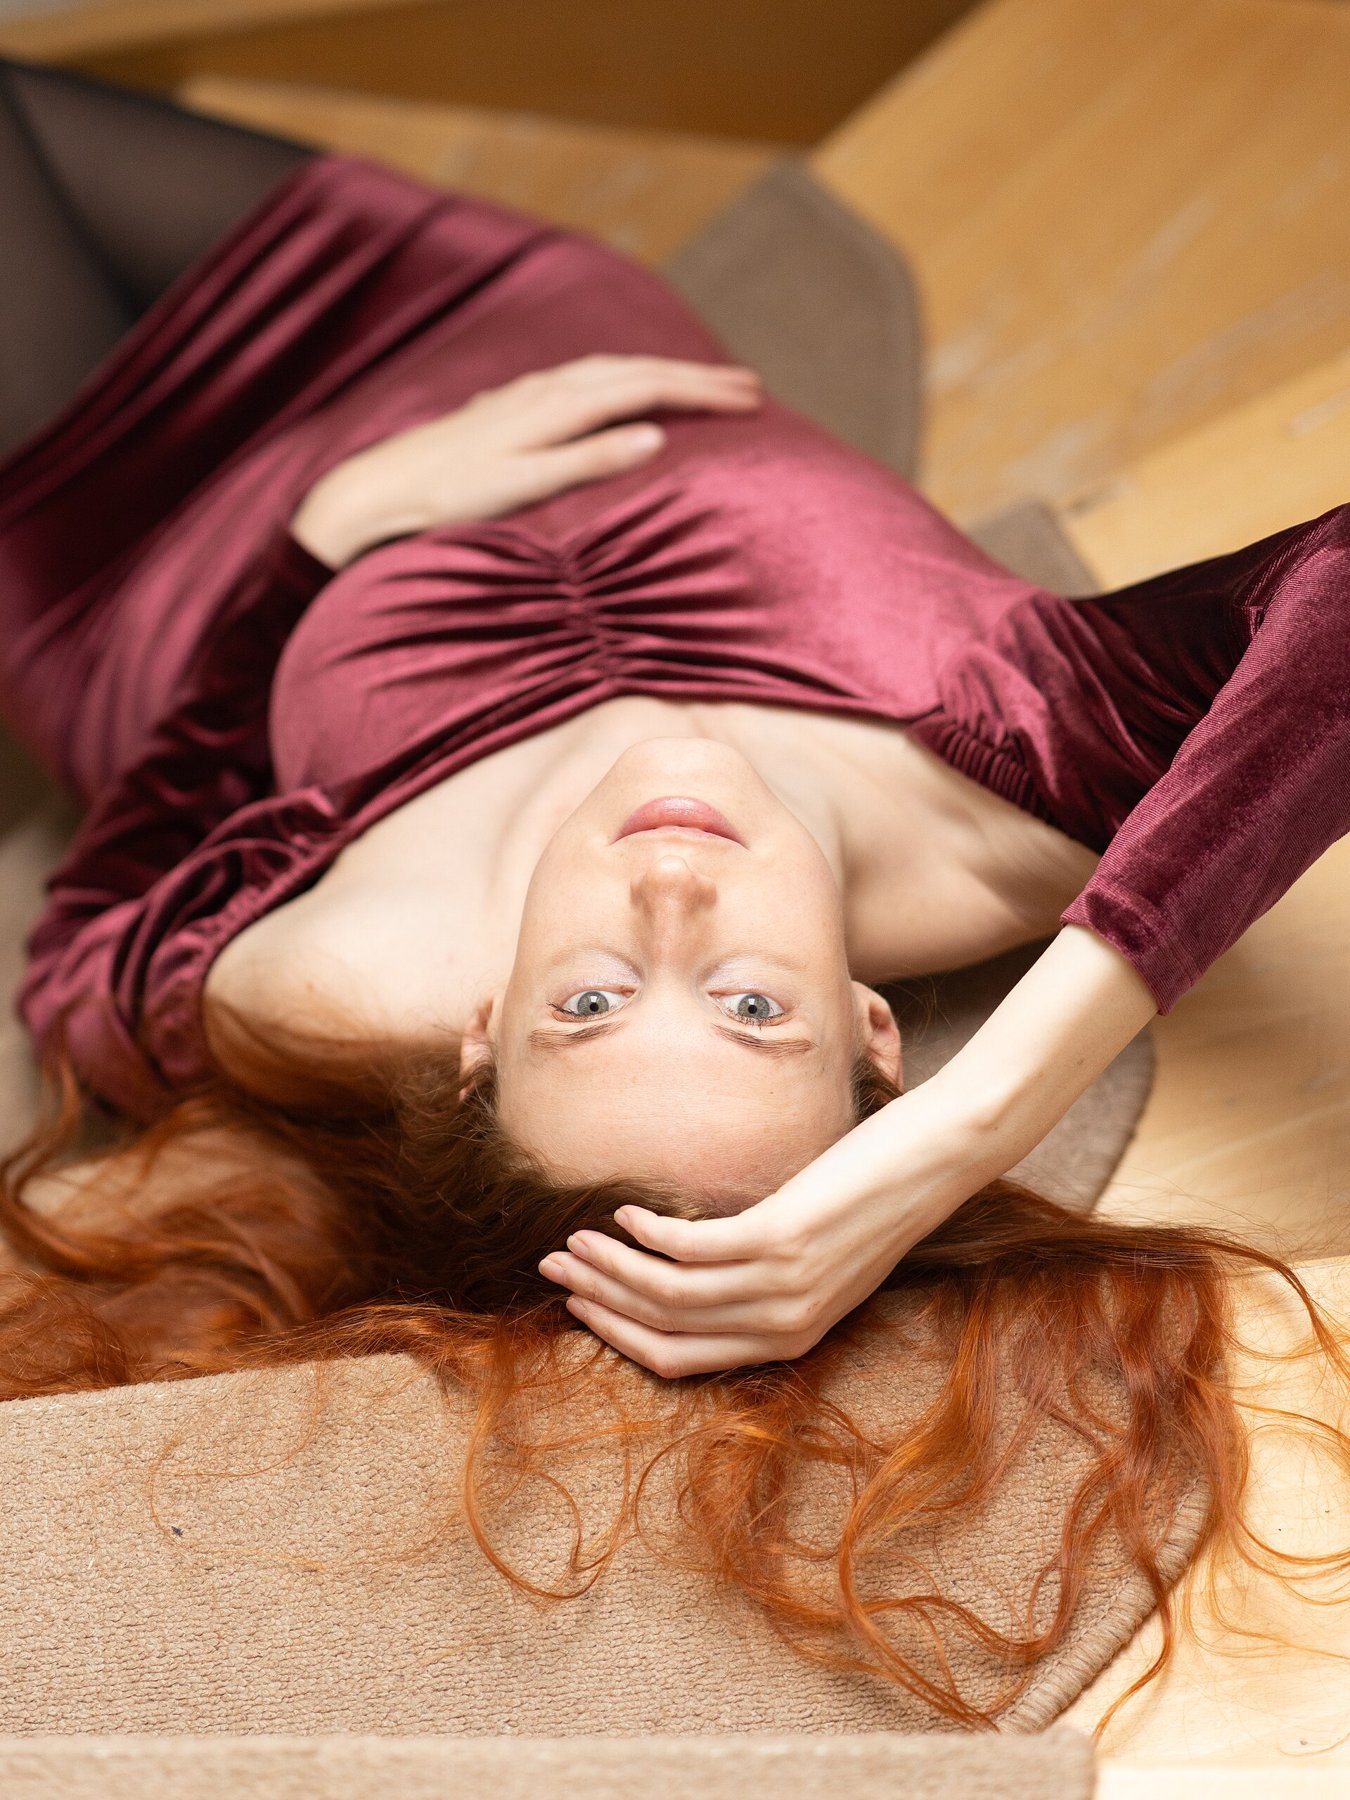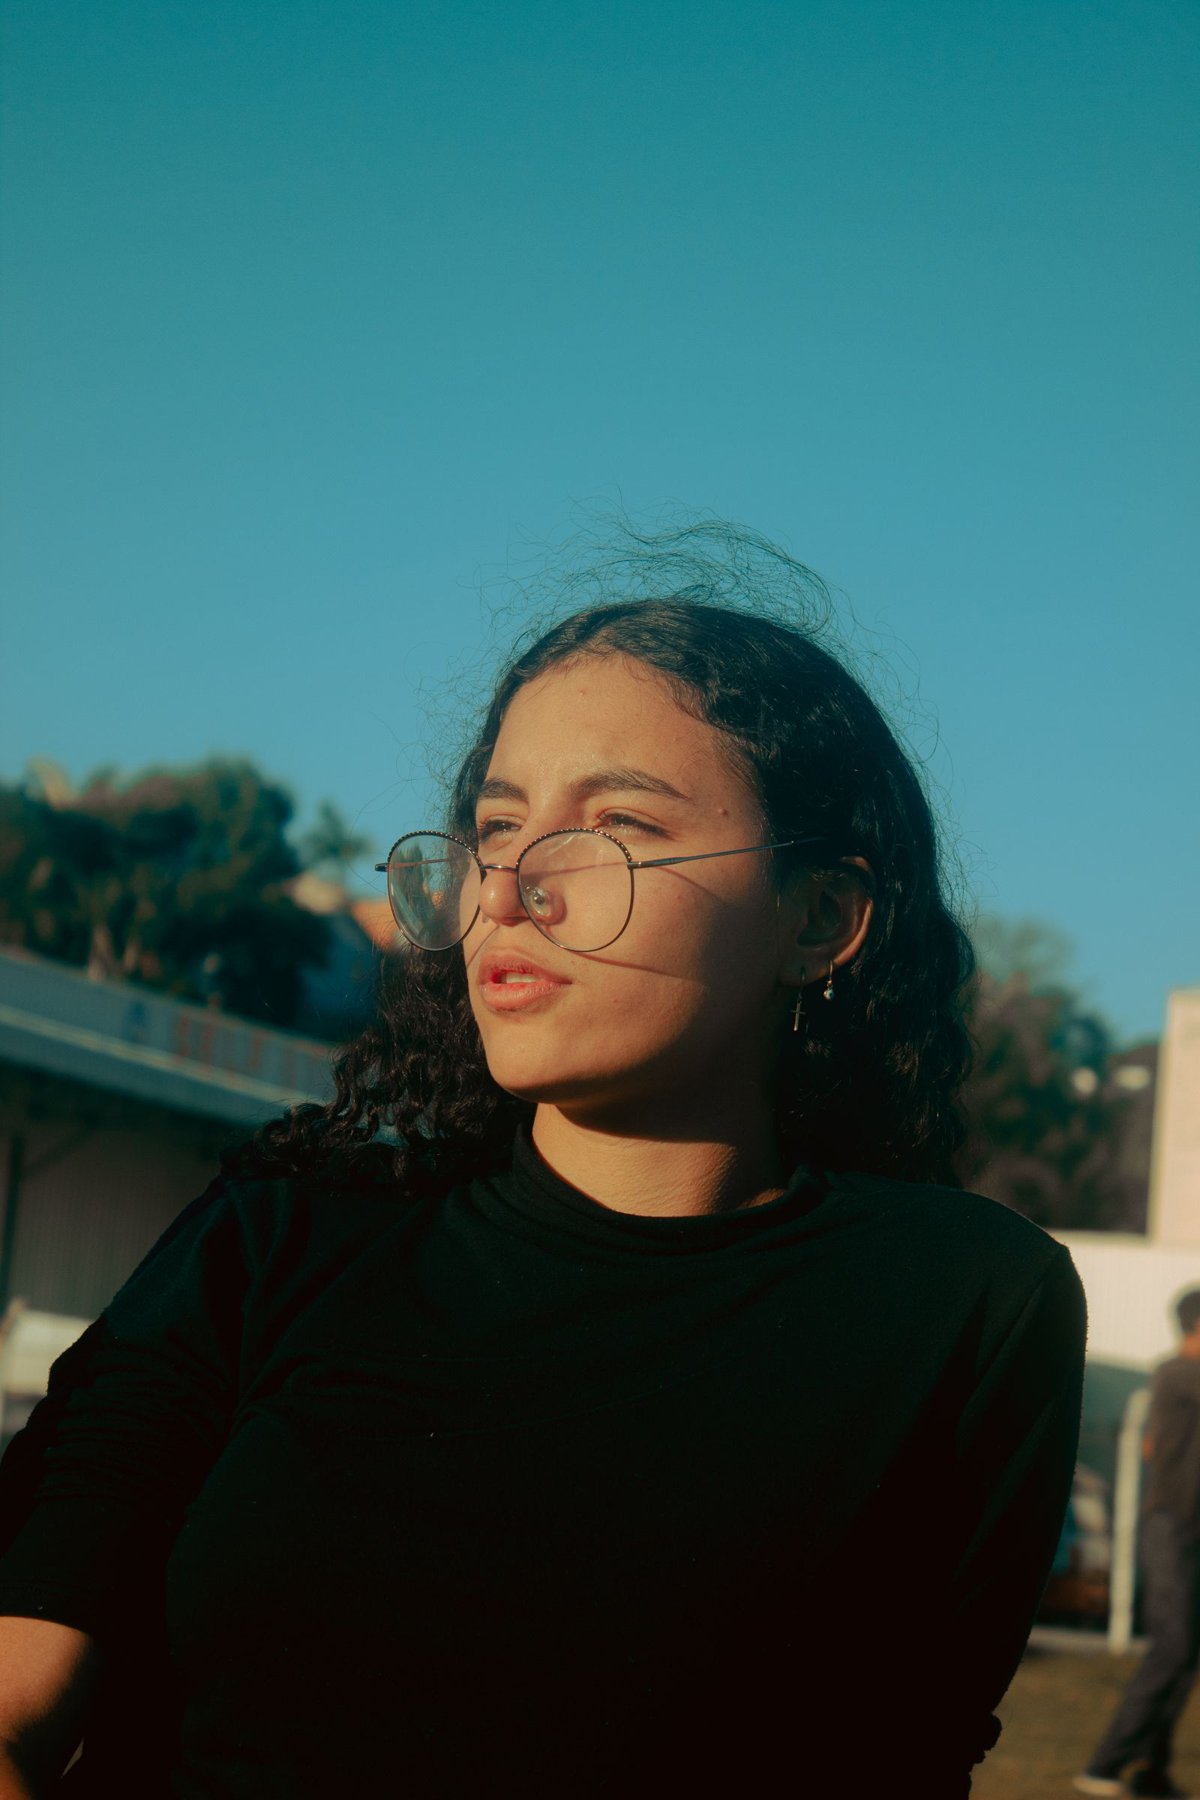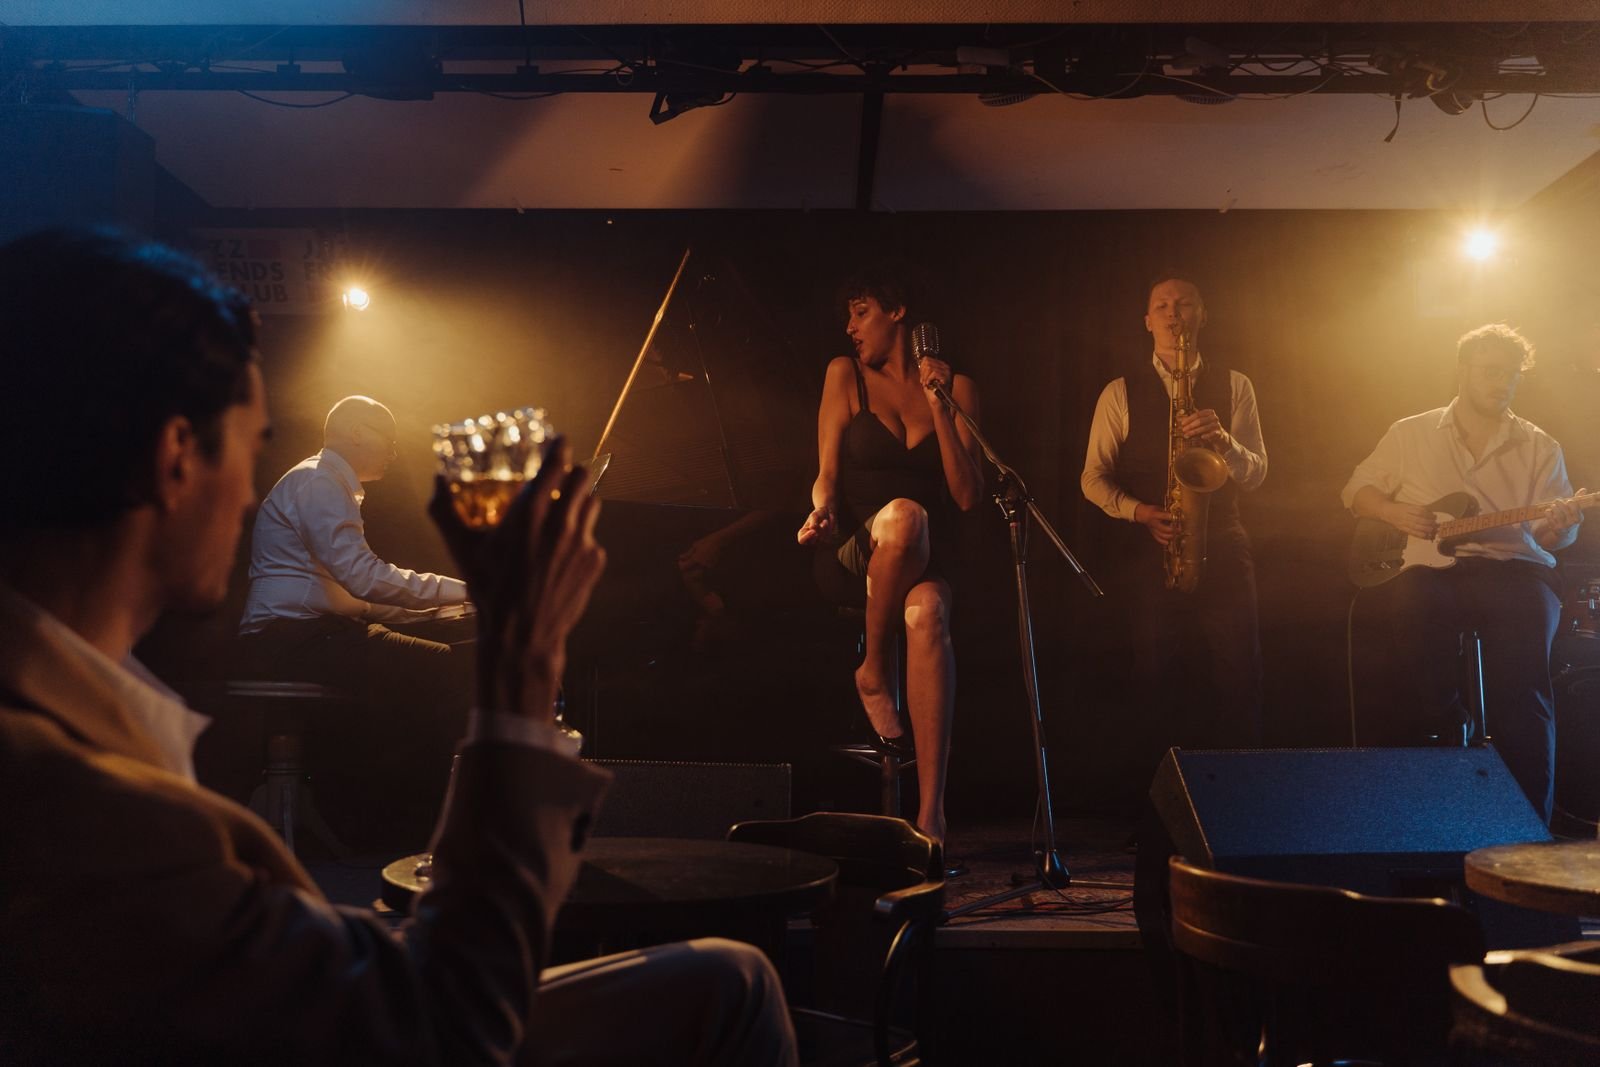
At a reading, small celebration or stage event, flash may be unwelcome or prohibited. You must then work with existing light rather than replace it. This does not require an entirely different kind of photography, but it does demand priorities: which person and moment must be sharp and readable? A technically clean image of an empty moment says less than a well-chosen moment with some visible noise.
Inspect the room before the event
Find areas where faces receive light. A position beneath a ceiling lamp may be brighter but produce deep eye shadows. Side window light or even stage illumination may be more useful. Check which routes you can use without obstructing the audience or proceedings, and which viewing directions avoid speakers or bright exit signs behind heads.
Make test captures under the actual lighting. LED sources can produce bands or changing colours, especially with electronic shutter. Test several exposure times and another shutter type when appropriate. A silent mode is useful only if its images remain usable under this light. Follow venue requirements for noise and positioning.
Choose time for the gesture
A person speaking calmly needs less speed than someone moving rapidly across a stage. Start with a setting that holds hands and face sufficiently and inspect the results. 1/250 second can be a starting point for gestures; fast movement may demand much more. Wait for brief pauses between gestures when the light does not permit a shorter exposure.
Open the aperture only as far as the required depth of field allows. Two people at different distances may not both be clear at a very wide aperture. Change position to bring their distances closer together or stop down and raise ISO. Supporting the camera helps your movement, not theirs.
From the lectern into the darker room
A speaker begins in a bright pool of light, then walks among the audience. Manual exposure that worked at the lectern may suddenly be too dark. Automatic exposure can follow brightness, but needs useful limits: too slow a shutter shows movement, while too wide an aperture may leave only one eye sharp. Decide beforehand which boundaries matter for the intended subjects.
Test both positions with a person or object at a similar height. Note the required differences and check whether settings can be changed quickly. With Auto ISO, inspect whether the upper limit causes underexposure in the darker area. That limit is not a quality guarantee; it may leave the image darker than intended.
Also watch changing light colour. A warm room and a cool stage cannot always be rendered neutral with the same white balance. RAW capture and suitable references make later adjustment easier, but do not restore completely clipped colour channels. Inspect red or blue stage lighting especially on faces and clothing.
Finally, plan position changes around pauses. Crossing the room only when an important gesture occurs may lose the moment and interrupt other people’s view. A clear sequence of overview, medium distance and detail works better when each position is prepared in time. Not every second needs a photograph.
Prioritize lit faces over average room brightness
A dark stage can encourage automatic exposure to brighten the scene even when a spotlighted face is already bright. Check skin and pale clothing for detail. Negative compensation may then help. Conversely, a bright projection behind a person can make their face too dark. The appropriate metering decision depends on what the photograph needs to explain.
RAW makes later adaptation to changing light easier but cannot replace preserved highlights. Under strongly coloured stage lighting, neutral skin may not be realistic. Retain atmosphere rather than removing every colour through extreme corrections. For descriptive documentation, a moment under whiter light may work better than a heavily repaired red-light phase.
Build a story at different distances
Complement close views with an overview of the room and details of the activity. A microphone, hand on an instrument or audience reaction can provide context. Avoid many nearly identical bursts when another viewpoint would add information. Check focus and exposure after short sequences so one error does not affect the whole event.
After import, select first for expression, action and composition, then assess technical weaknesses. Apply only enough denoising to retain skin and fabric texture. Export at the size actually required; extreme magnification can emphasize problems barely visible in the intended presentation. Keep originals and an organized selection for later uses.