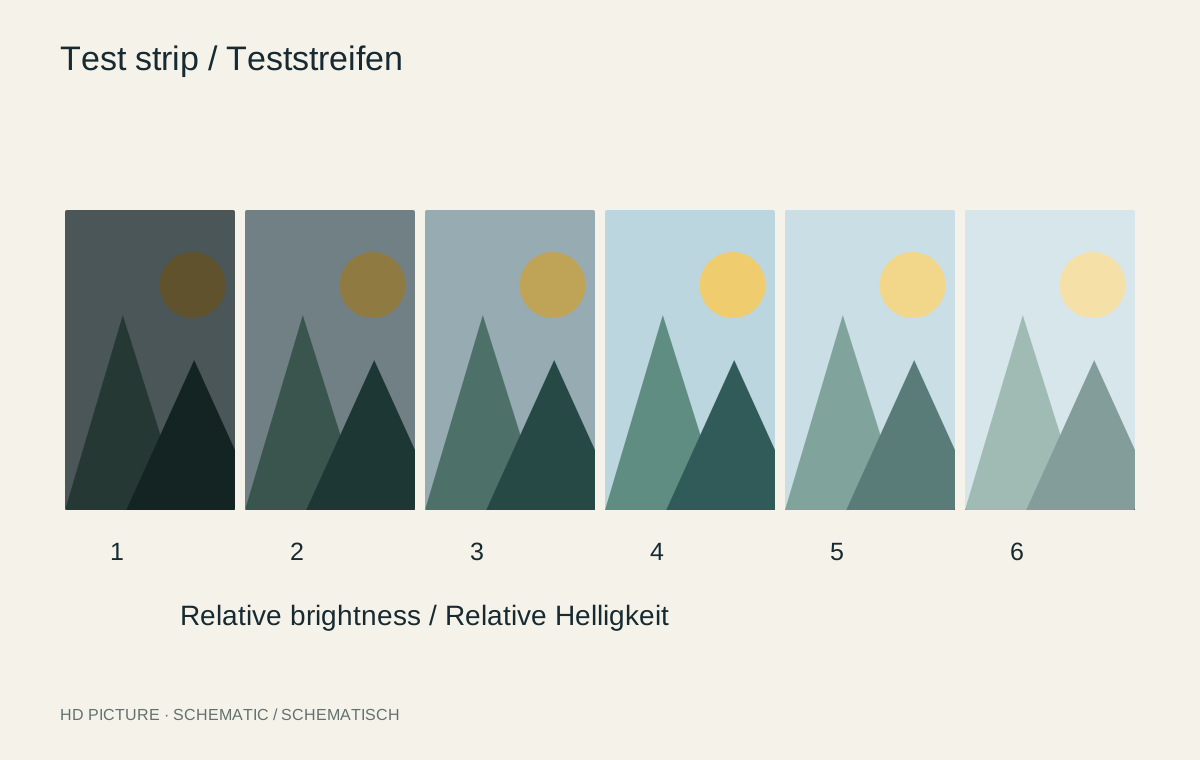
A small representative section can clarify a great deal before a large print. It reveals whether shadows remain readable, skin colours work or sharpening fringes distract. For a meaningful comparison, the section must appear at final scale. A heavily reduced whole-image preview checks composition, not the same detail rendering.
Define a specific question
Decide what needs testing: a dark jacket, vivid red petals or fine hair. Choose a section containing the issue and some context. An isolated colour patch says less about natural relationships than a face, clothing and background together.
Make two or three versions with only one deliberate change. Altering brightness, paper and sharpening simultaneously makes an improvement difficult to attribute. Label versions A, B and C and record their settings separately.
Preserve final scale
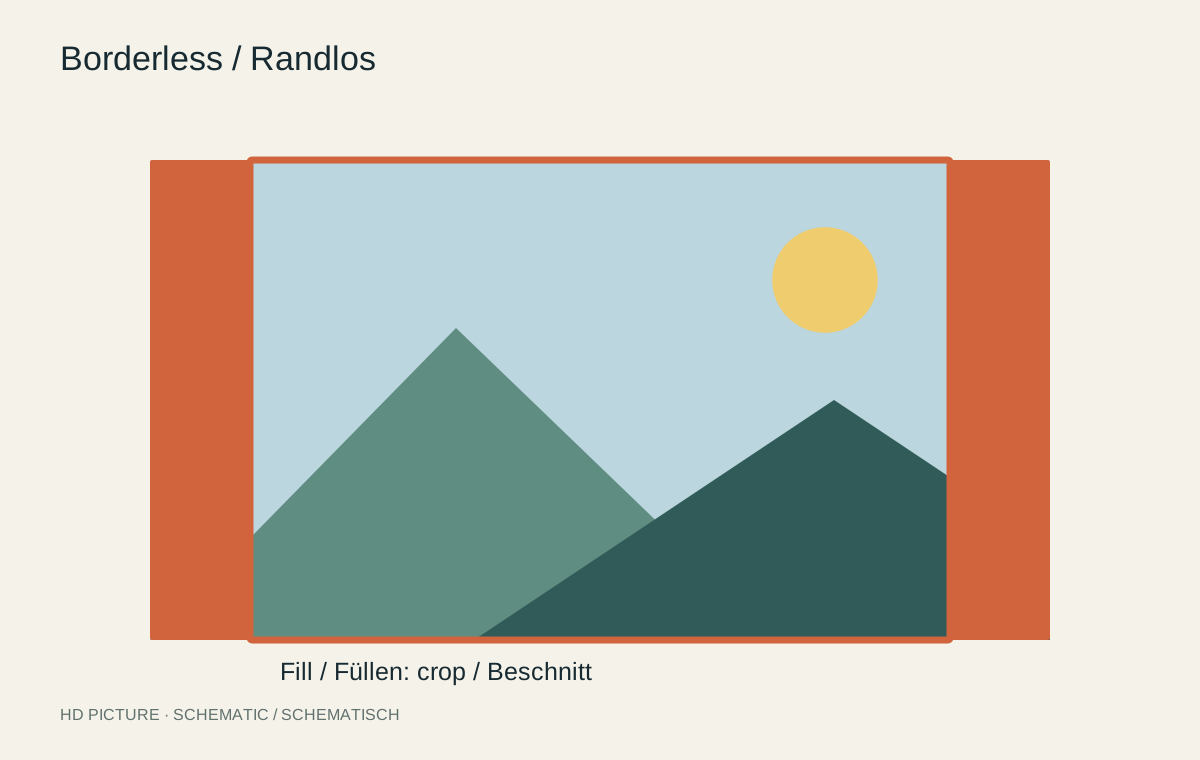
If the full image will be 60 cm wide, the selected section must have the physical size it would occupy within those 60 cm. Do not automatically shrink it to an arbitrary proof page. Check whether a setting such as “Fit to page” changes the intended dimensions.
Arrange several sections with enough separation and room for clear labels. A small overview of the whole picture can help as an addition, but does not replace final-scale details. Keep the proof file so later comparisons can use the same basis.
Keep paper and output path consistent
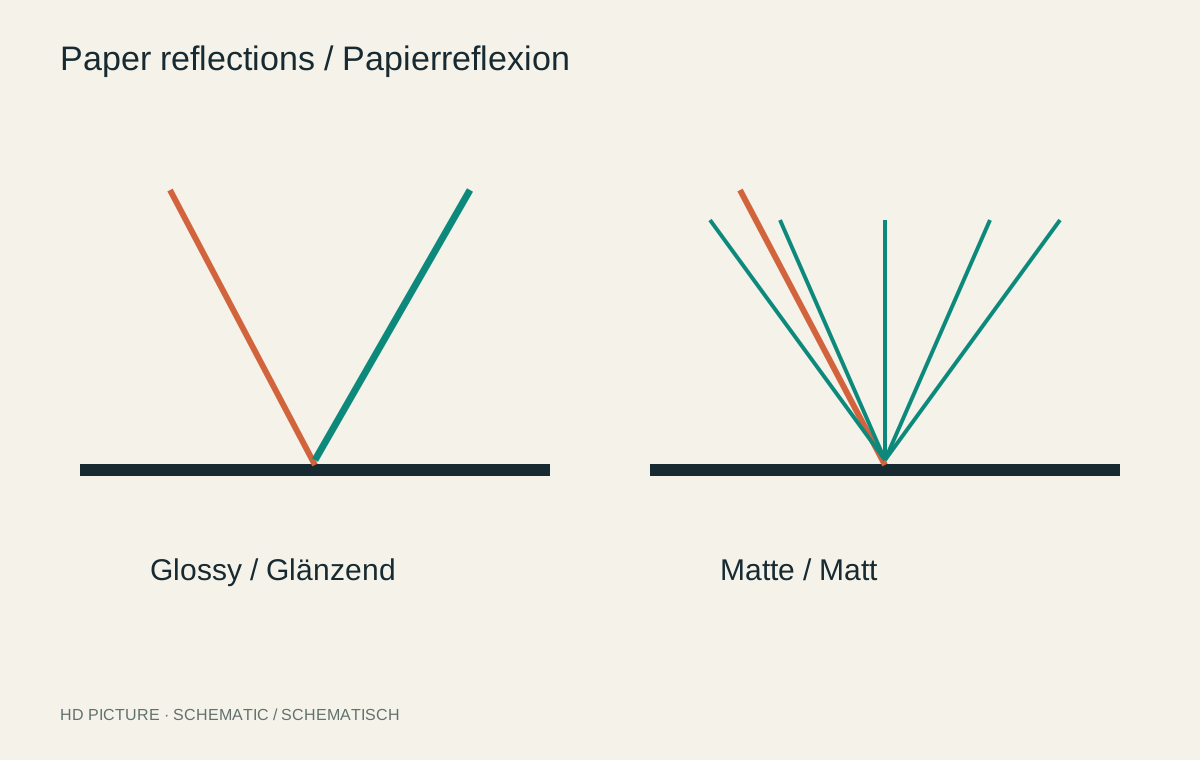
Use the intended paper and output path where possible. A proof on ordinary office paper says little about deep blacks in a glossy photographic print. For a laboratory test, check whether a watermark or another feature affects the area you are judging.
Do not assume every order automatically includes a proof. Some services offer tests only as a separate option. Establish what you are ordering and whether it uses your file or merely supplies a generic sample.
Evaluate the result reproducibly
View the proof under suitable light, first from normal distance and then closer. Choose the version preserving important information rather than automatically the brightest or sharpest. Check unwanted effects in neighbouring regions too.
Record date, material and chosen version. Apply the correction to the separate print version and ensure it is not accidentally applied twice. If another proof is necessary, change only the unresolved factor again.