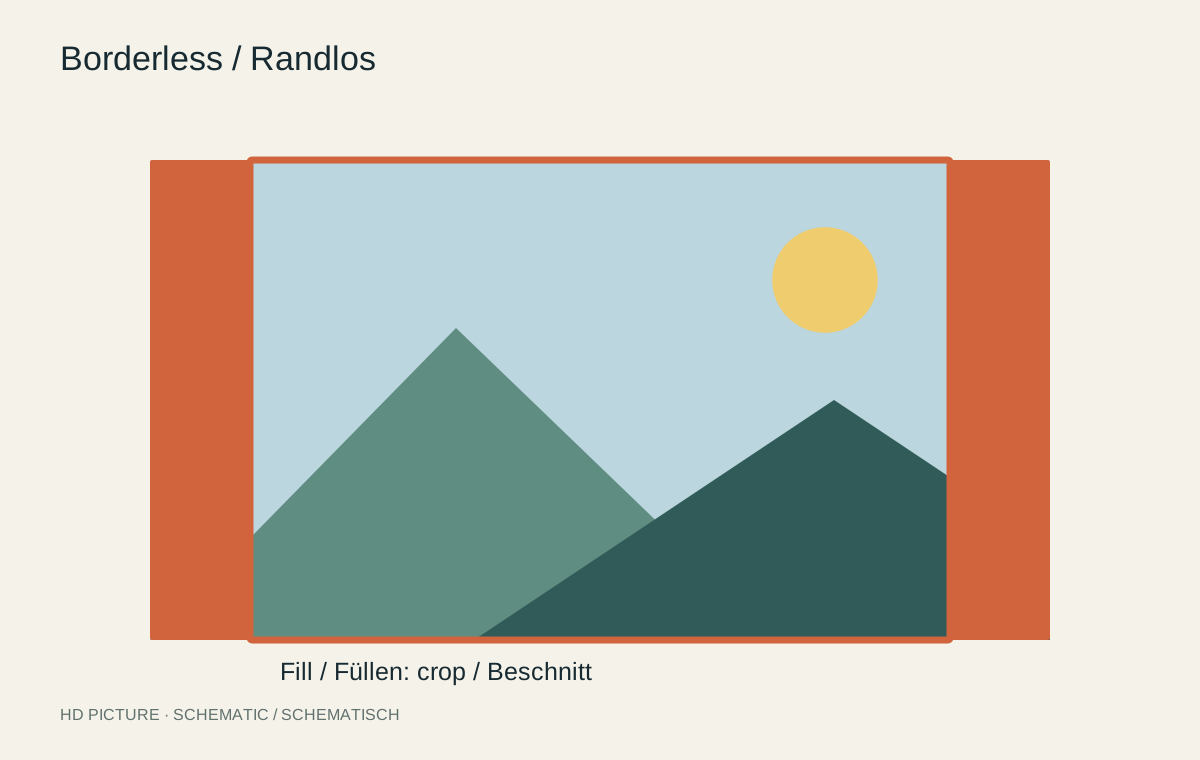
A white border can give a photograph breathing room and provide space for framing. It also changes the dimensions you need to order or frame. Some services add the border outside the selected image size; others reduce the image inside a fixed paper format. Both approaches can be appropriate, but produce different results.
Calculate the actual external dimensions
A 20 × 30 cm image with an additional 2 cm border on every side measures 24 × 34 cm externally. The border is added on both sides of each dimension. If the whole sheet must remain 20 × 30 cm, the image area becomes smaller. Check whether the configurator displays image or external dimensions.
WhiteWall, for example, describes an externally added border: the selected image area remains unchanged while the outside grows. Do not assume another provider uses the same rule. An existing standard frame may otherwise fail to fit despite an apparently correct order size.
Equal measurements need not look equal
An equal border on all sides is a straightforward starting point. Some presentations leave more room below for a caption or deliberate visual weighting. Decide this through the layout rather than discovering it while forcing the print into a frame.
If the image ratio differs from the outer paper ratio, border widths may differ. That is geometrically normal. Choose another outer shape, change the crop or accept the unequal borders deliberately. Stretching the photograph is not a sensible solution.
Plan the border with the mat
A mat can cover part of the paper border and present the image with separation from glazing. Decide whether the white border should remain visible or disappear beneath the mat. Measure the actual opening rather than relying only on the frame’s product label.
Cut a full-size paper mock-up of the image and border. Place it in the intended frame before ordering the photograph. This quickly reveals whether the visible opening is too tight or a planned caption would disappear beneath the frame edge.
Check the complete preview before ordering and retain a file without a baked-in border. You can then produce another border width later. For a thin border added yourself, account for cutting tolerances: small variations are especially conspicuous along very narrow lines.