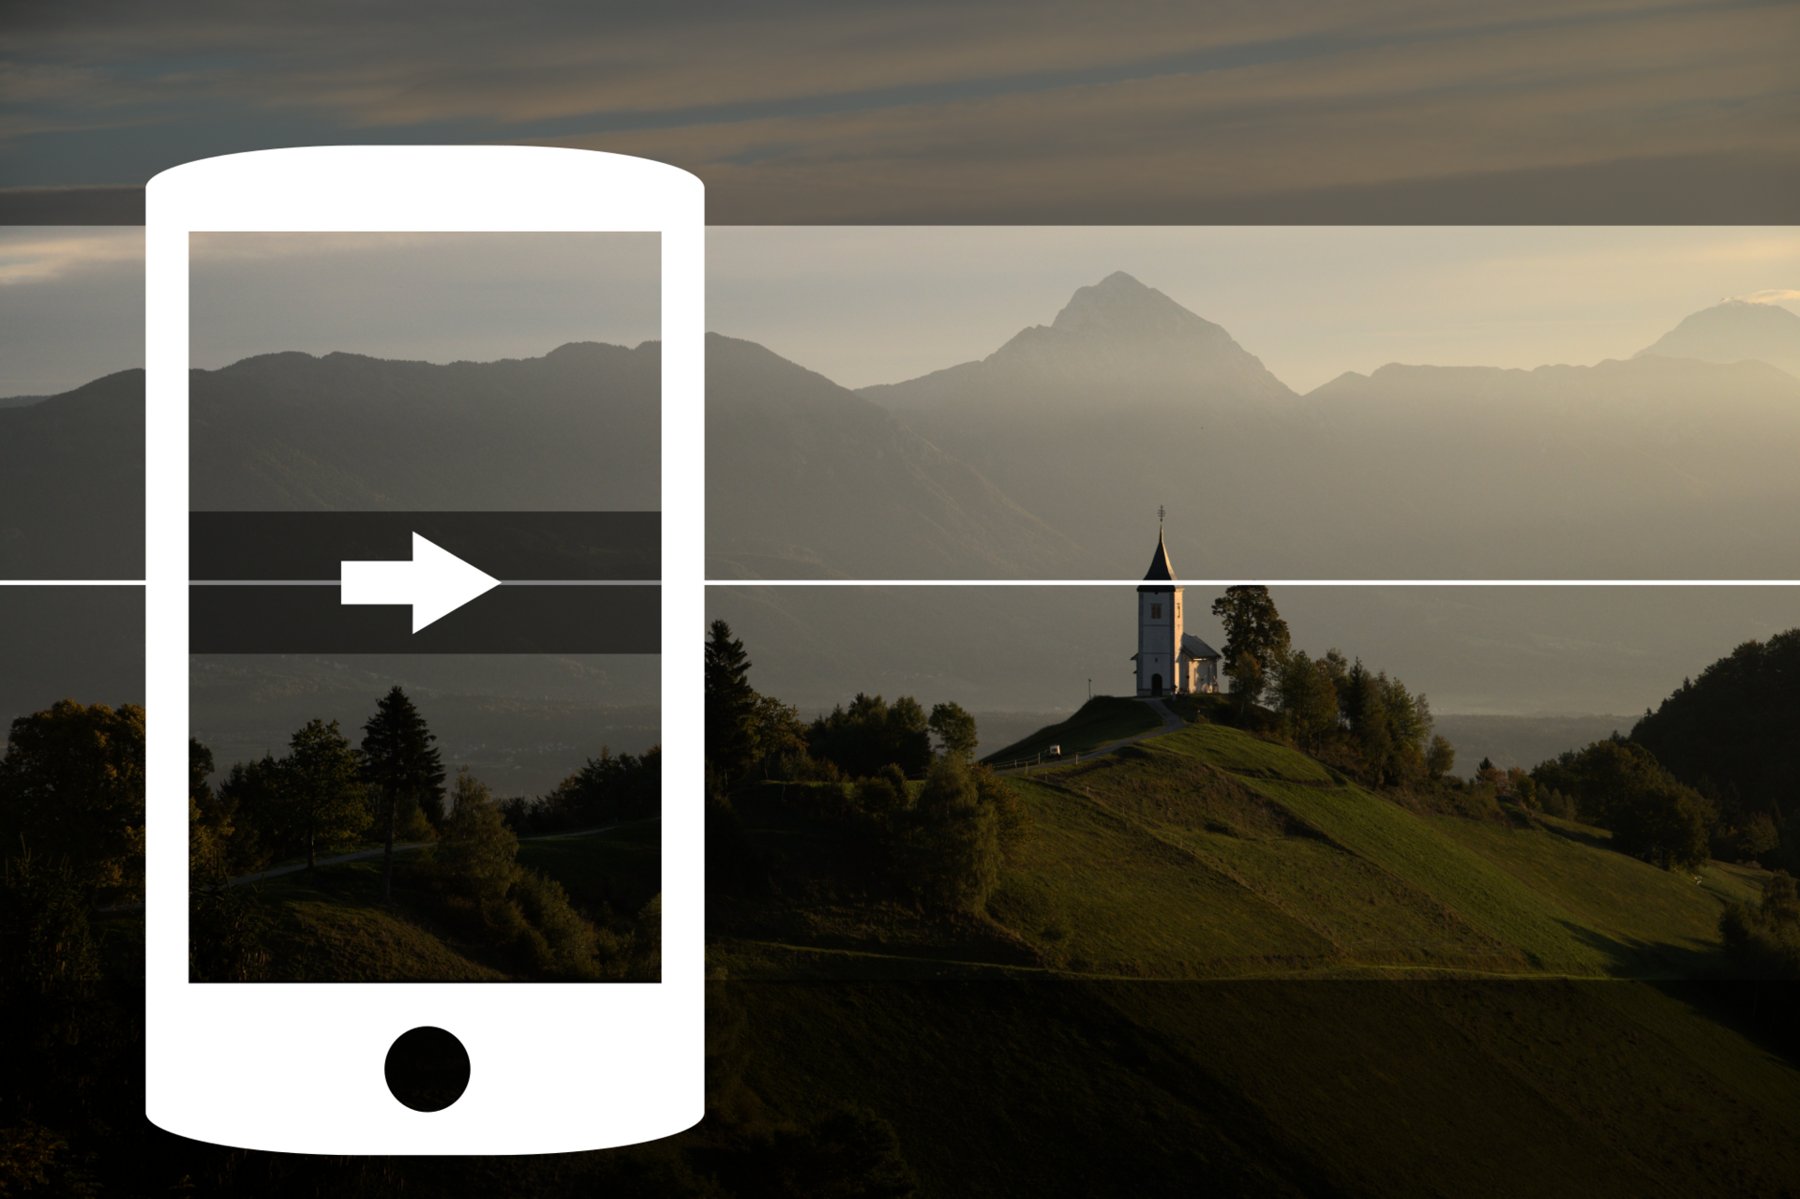
A panorama is not one wide-angle instant. As you sweep, the phone records different parts of the scene at different times and joins them. A person may therefore appear twice at a seam, or a wave may acquire incompatible shapes. The method often suits a quiet viewpoint, while a passing train presents a much harder subject.
Rehearse the sweep
Choose the beginning and end before pressing the shutter. Turn your upper body through the intended area once and check that you can finish without changing your grip or taking a step. Stable footing helps more than chasing the guide arrow frantically. Keep the phone near the same position during the sweep instead of swinging it through a large arc in front of you.
Nearby railings, posts and branches are particularly sensitive: a small sideways displacement changes their position against the distant background. Move away from these objects where possible, or compose without them. A panorama through closely spaced fence bars is rarely the easiest solution.
Move steadily without pauses
Select panorama mode and follow the displayed direction at a steady pace. On iPhone, the arrow can reverse the direction, and vertical panoramas are also possible. You need not use the full available sweep. Finish when the composition is complete rather than adding an uninteresting car park at the end.
Large changes in brightness make joining harder. Sweeping from a dark forest directly toward the sun can produce visible transitions. Choose a better moment or a narrower angle. If people cross the frame, wait for a gap where possible. Ask stationary subjects to remain still until the capture finishes, without treating that as a guarantee of perfect joins.
Inspect joins before making a large print
Open the finished image and inspect roof edges, lamps, faces and the horizon at higher magnification. Look for displaced lines and repeated details. Retaking a faulty panorama while still at the location is easier than repairing it later. Make an ordinary photograph of the most important area as well.
Straightening and trimming consume image height, so leave some room at the top and bottom. For a planned print, check the remaining pixel dimensions after those corrections. A very long file does not automatically have sufficient resolution for every print height.