A small flower may suddenly look soft on a phone even though the camera focused reliably a moment earlier. You may simply have moved closer than its focusing limit. Moving nearer makes the problem worse. Start farther away and watch where the subject becomes clear. A sharp, slightly smaller detail is usually more useful than frame-filling blur.
Which camera module is operating?
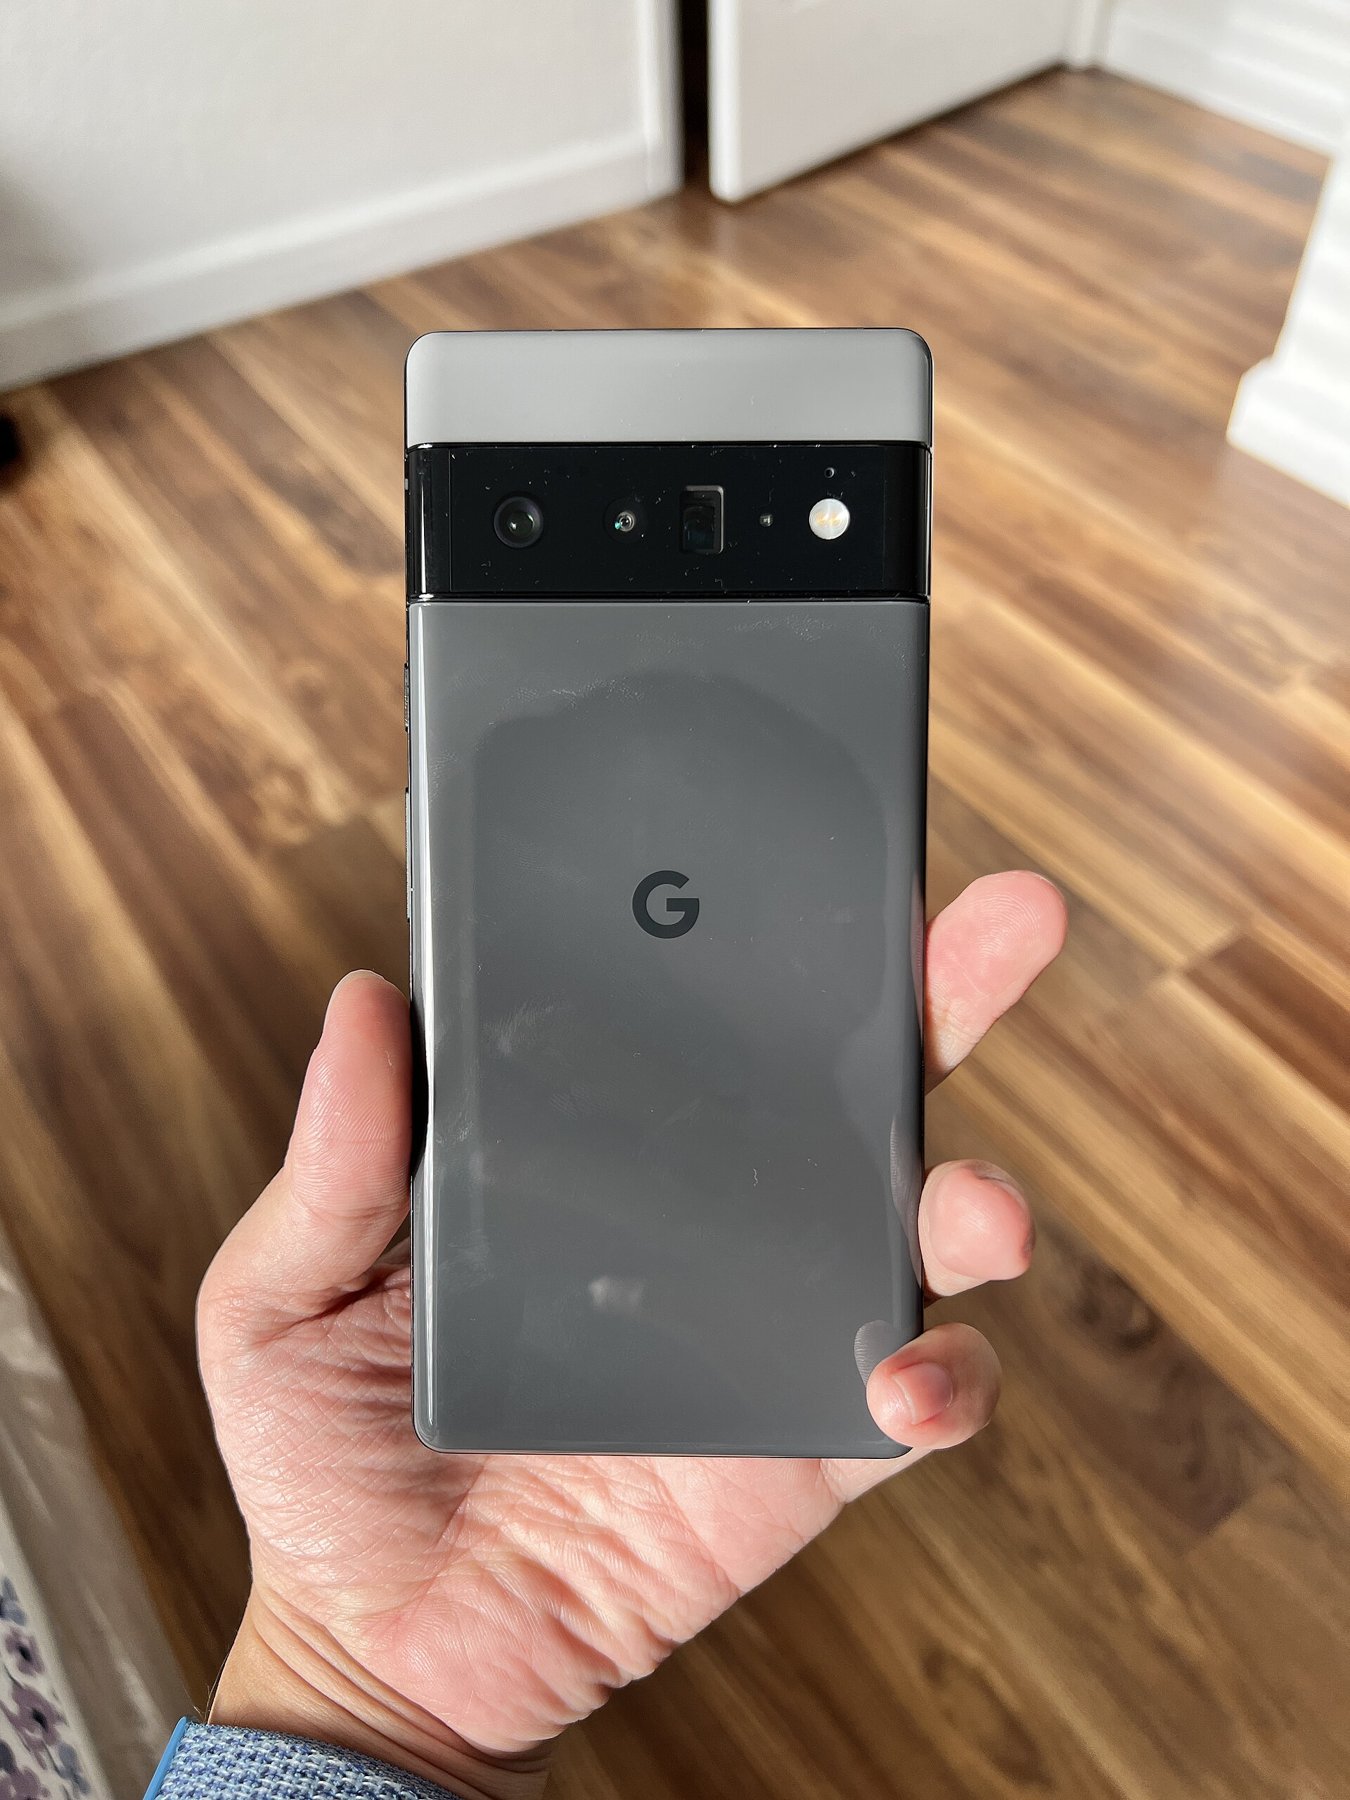
Some phones offer a close-up mode or automatically switch to a suitable camera. Supported iPhones use their ultra-wide camera for this. That does not apply to every model or every additional phone camera. Check the device instructions rather than inferring the actual optics from the displayed zoom number.
An automatic switch may visibly change the framing. Pause before moving closer again. If your camera offers control over this switch, compare both options under the same light. Depending on the device, the main camera from farther away may provide more useful detail than a very close view from another module.
Plan light and focus together
At close range, the phone can easily block the light. Watch whether your shadow moves across the flower or object. Side light from a window or bright outdoor shade usually offers more flexibility than a small lamp directly behind the phone. With shiny surfaces, move the light source before making large exposure changes.
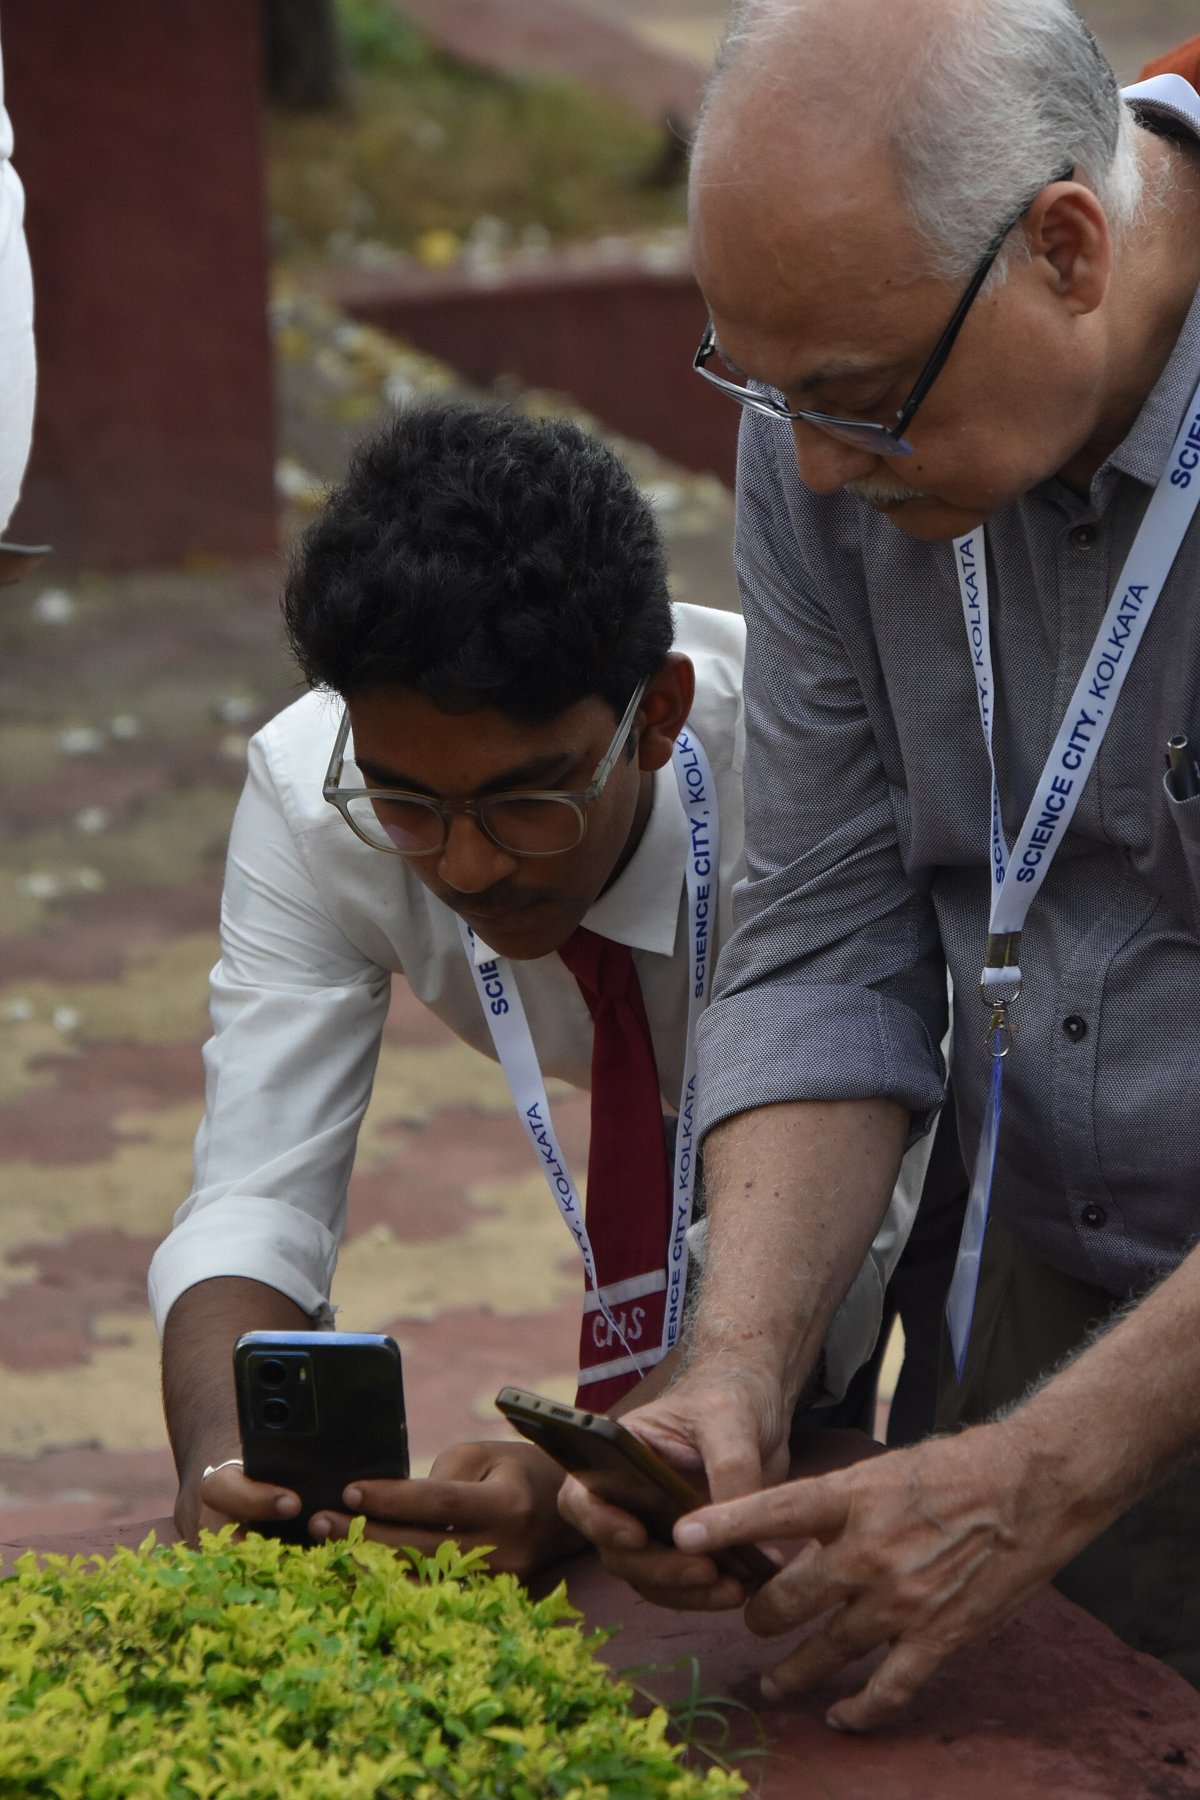
Tap the important detail, such as a stamen tip or an engraving. Your body movement matters after that: moving a few millimetres forward or backward can shift the sharp plane. Support your hands or forearms and move slowly. For a flat coin, keeping the camera parallel helps place its near and far edges at similar distances.
A three-dimensional object will not automatically be sharp everywhere. Decide which feature the picture needs to explain. A sharp flower centre with soft petals can work; readable lettering may require a different angle or slightly greater distance.
A controlled test with an engraving
For a controlled comparison, place a coin or a key with small lettering on a stable table. First photograph it from a distance where the camera focuses reliably. Move closer in small steps and assess each saved photograph. Once letters become softer despite appearing larger, you have not necessarily improved the result. Use the last successful distance as a starting point for that camera mode.
Next, slide a pale card beside the object. Its reflection can open dark metal surfaces; a dark card can instead limit a broad, pale reflection. Keep both outside the frame and move them slowly. This controls light on the surface rather than trying to recover contrast later from a featureless white reflection. Compare results at the same displayed size so magnification alone is not mistaken for extra detail.
Do not restrain moving subjects
For plants, wait for a pause in the wind. Small animals cannot be arranged like products; keep your distance and avoid touching or disturbing them for a picture. Include more surroundings if an extreme close-up would require intrusion.
Inspect the saved image at higher magnification. Waxy areas may come from strong noise reduction; doubled outlines can result from movement or multi-frame processing. Compare several brief attempts and choose one with convincing detail. Additional sharpening cannot replace information lost during capture.