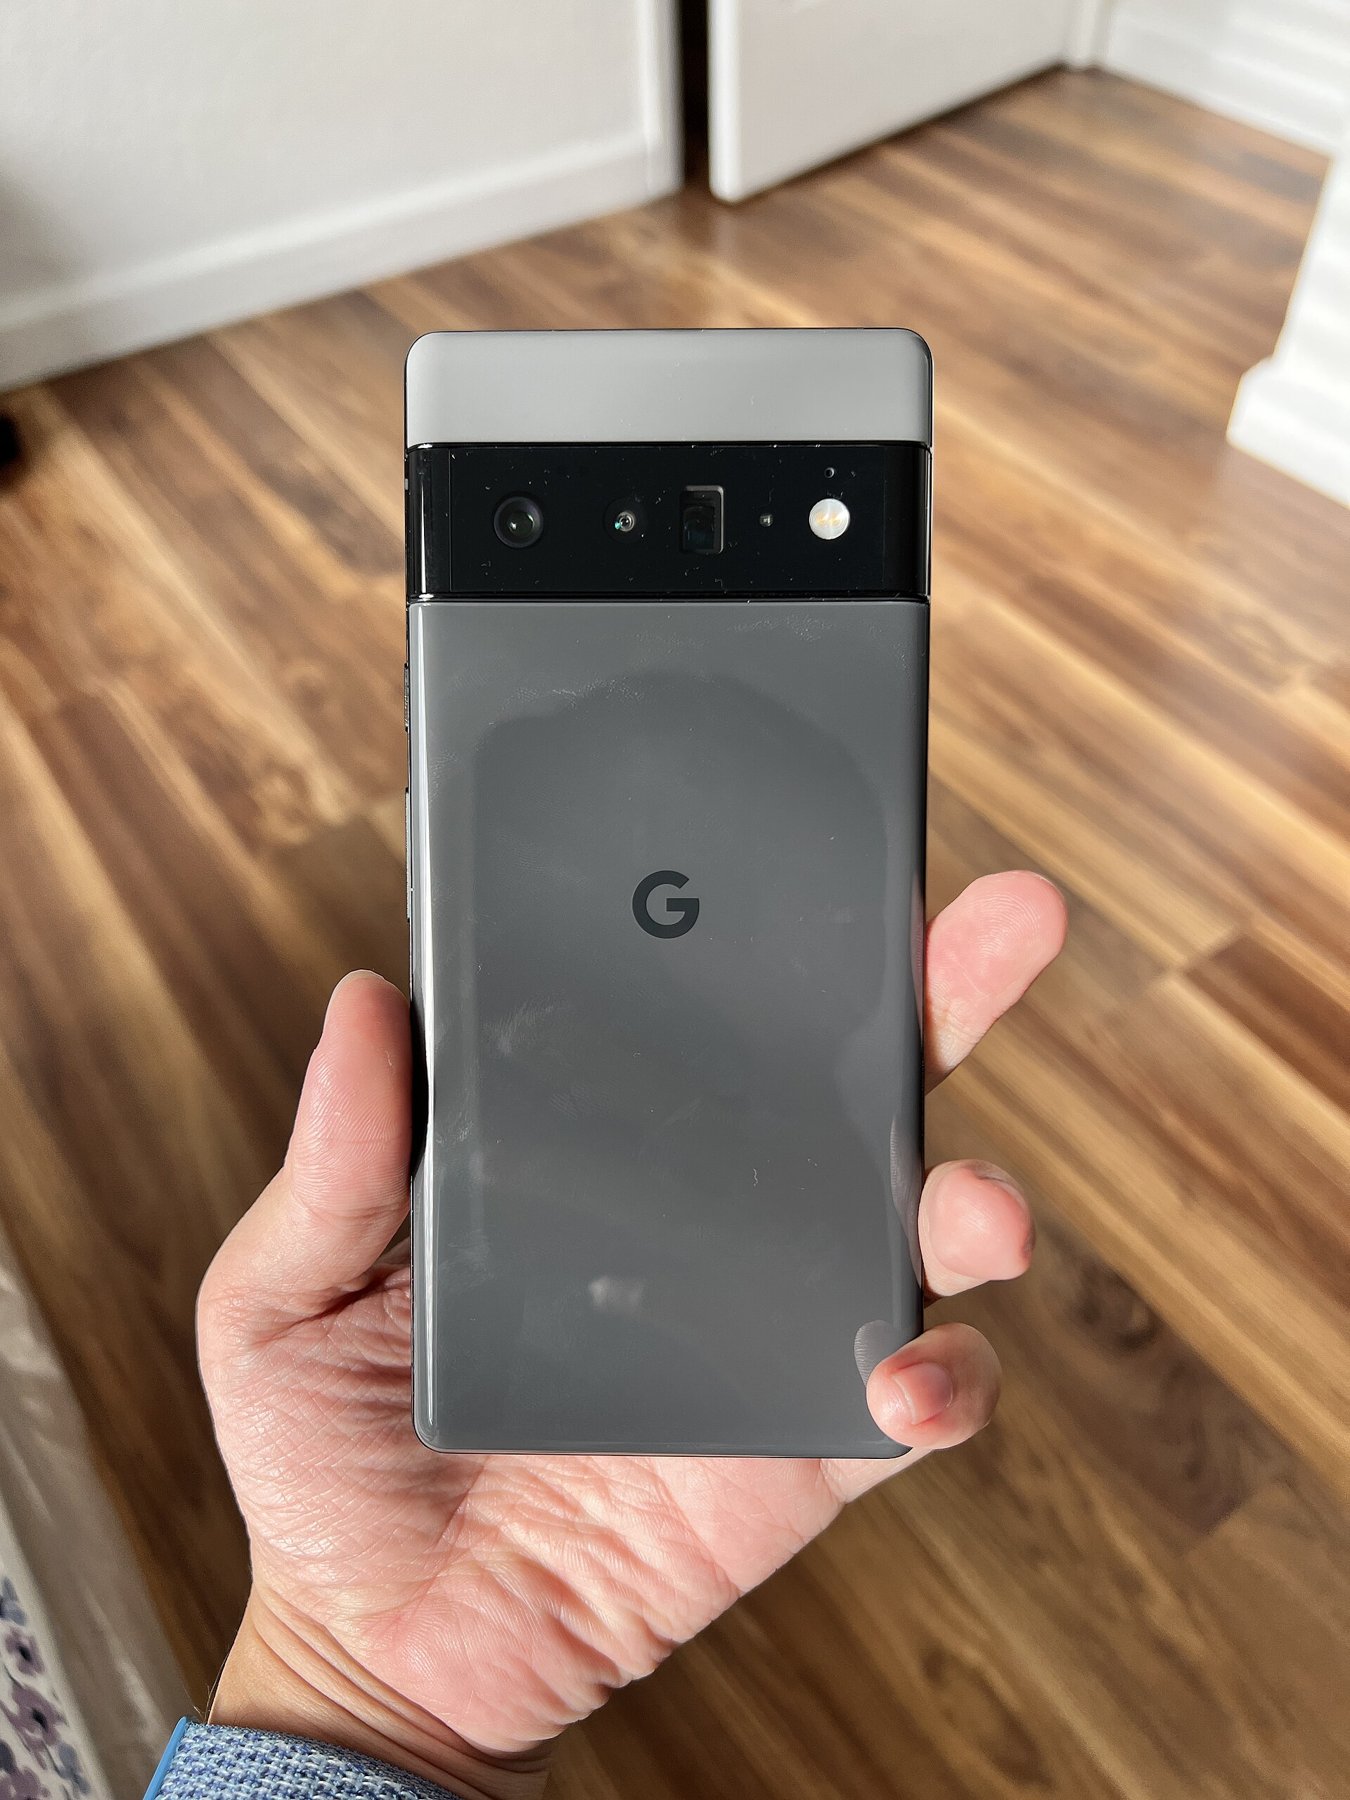
A greasy fingerprint can create haze around streetlights and reduce a photograph’s contrast. On the display, this can easily look like a camera or night-mode problem. Because a phone spends so much time in hands and pockets, inspect the outer camera glass before important photographs. Keep cleaning gentle and follow the instructions for the particular device.
Use a clean cloth rather than force
Look across the camera surface at an angle to the light. Fingerprints and attached particles often become easier to see. Use a clean, soft microfiber cloth, as Apple also recommends for dirty camera lenses. A cloth containing sand or hard particles can make matters worse, so inspect the cleaning material too.
Apply little pressure and avoid dragging visible grit across the glass. For heavier contamination, follow the device-specific cleaning instructions. Do not direct liquid into openings. Household cleaners and improvised abrasive materials are unsuitable shortcuts for an optical surface.
Remember the front camera and the edges of the case as well. A displaced protective film or accessory may intrude into the image area. Remove a detachable accessory for comparison only as its manufacturer intends; a firmly attached camera protector does not need to be removed for every inspection.
Recheck under the same conditions
Take a photograph of the same scene before and after gentle cleaning, keeping position and exposure as similar as possible. Compare contrast and bright light sources. If the haze disappears, the outer surface was at least part of the cause.
If the photograph remains blurred, examine other causes separately: did the subject move, was the camera too close or did focus land on the background? Cleaning does not remove motion blur. Internal condensation or a damaged cover cannot be repaired by rubbing harder on the outside either.
Store the cloth cleanly rather than carrying it loose beside keys in the same pocket. A brief inspection before shooting is usually easier than trying to correct widespread light haze afterwards. If the problem remains after appropriate cleaning and simple comparison photographs, follow the device manufacturer's support guidance.