A high ISO value is often blamed for every grainy photograph. A more useful distinction helps when choosing settings: under a given light level, aperture and exposure time determine how much light the sensor collects. ISO influences signal processing and brightness mapping. Raising it cannot create extra image information from light that was never recorded.
Limited light becomes visible in shadows
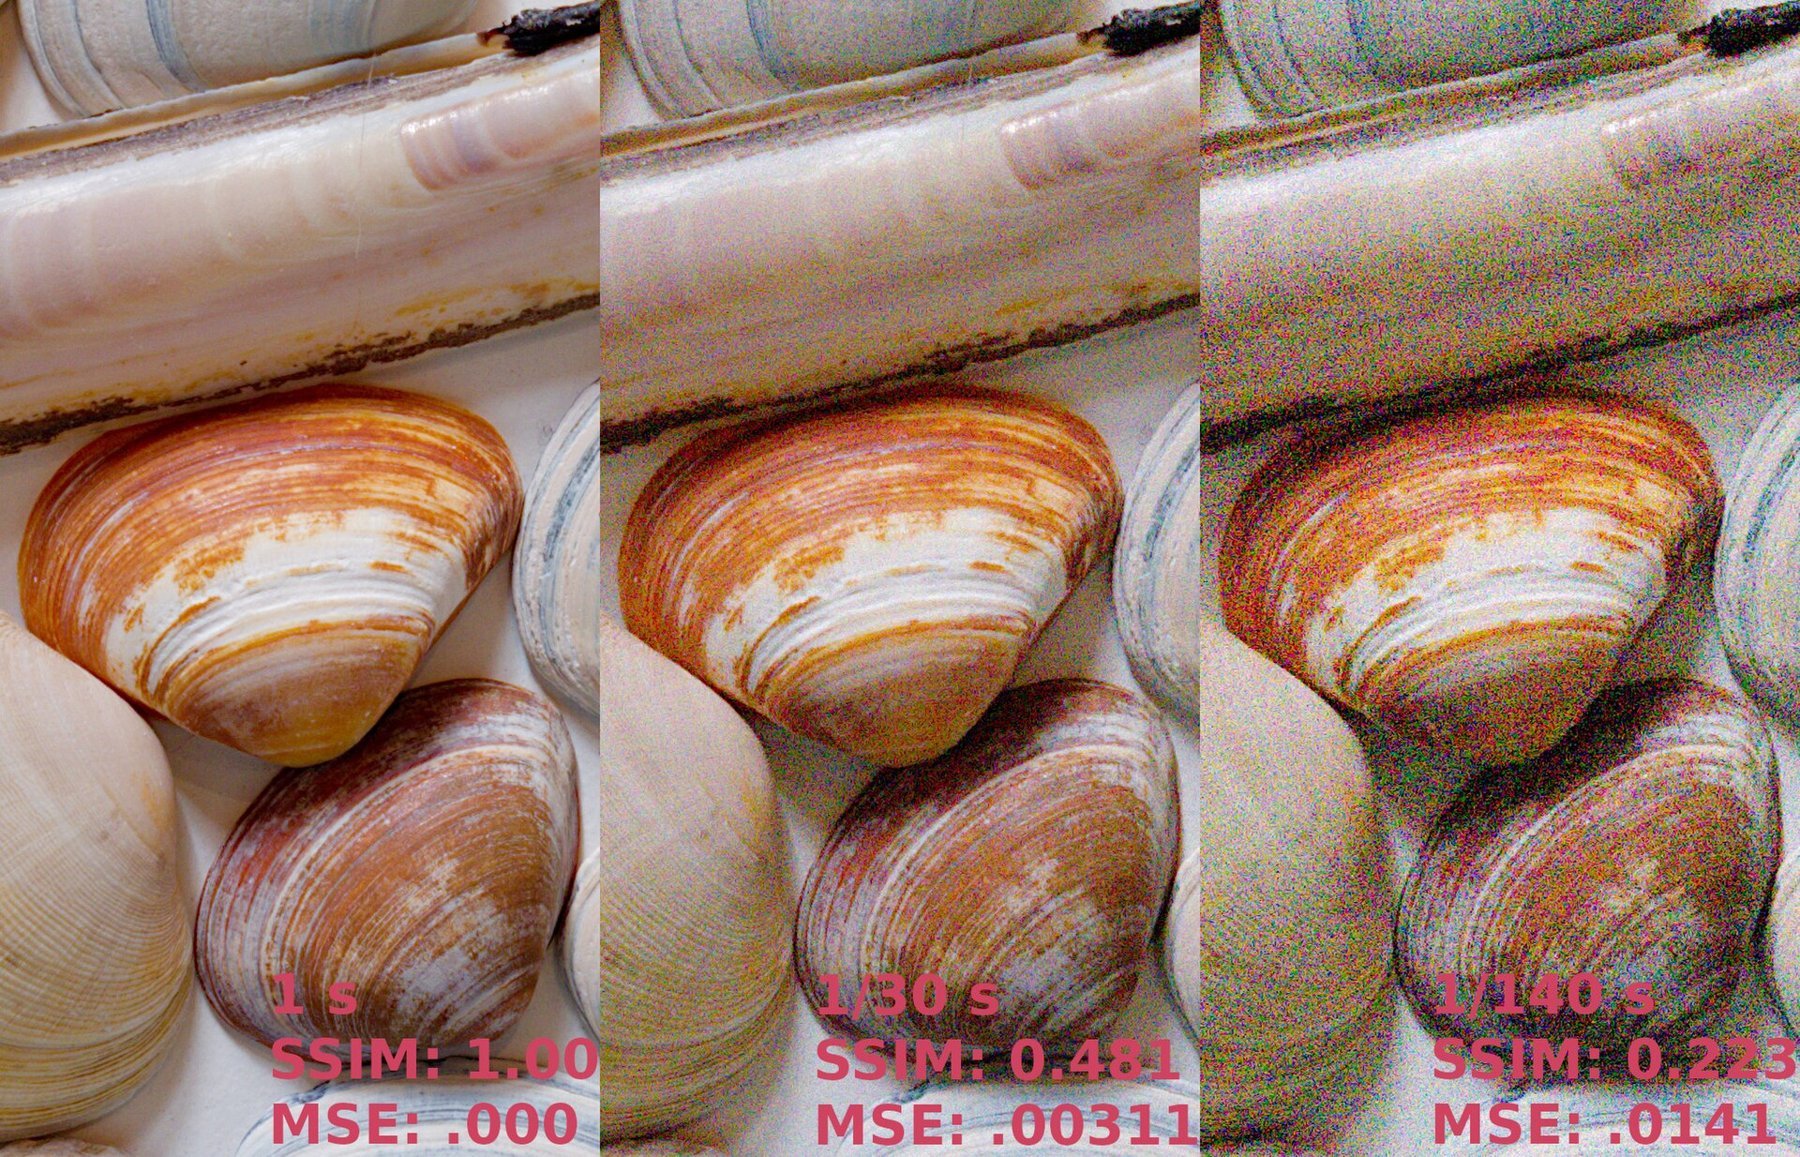
Noise can appear as random brightness variation or coloured patches. It becomes particularly obvious in dark areas that are brightened strongly afterwards. A small preview hides these differences; a 100-percent view reveals them clearly but may exaggerate their importance for a small print. Assess both fine detail and the actual output size.
If a subject stays still, a firm support and a longer exposure let you collect more light. For a playing cat, the same extension would smear its movement. A higher ISO setting is often the sensible compromise after opening the aperture sufficiently and choosing the necessary exposure time. Recognizable eyes then matter more than achieving the lowest possible ISO number.
A fair comparison in a dim room
Two ISO comparisons can answer different questions. In the first, leave aperture and shutter speed unchanged and photograph the same dim scene at different ISO settings. Roughly the same amount of light then reaches the sensor; differences arise from signal processing and subsequent brightness adjustment. In the second, keep visible image brightness similar and shorten exposure as ISO rises. The shorter frame has now collected less light. Do not attribute that difference solely to the number in the ISO menu.
For a practical decision during a talk, the second case usually matters: the person moves, and a longer exposure is unavailable if the gesture must stay sharp. First choose an adequate shutter speed and a usable aperture. ISO then provides the desired brightness. A slightly grainy, sharp face is often more usable than a smooth but smeared one.
For an empty room on a tripod, more light can be collected over a longer exposure. There is greater opportunity to keep ISO low here. Always judge noise at comparable output size and processing; a heavily brightened crop is not a fair comparison with a smaller, darker overall view.
Auto ISO needs a useful limit
A very low ISO ceiling can prevent the camera from maintaining the desired short exposure or producing a sufficiently bright image. Which setting changes instead depends on mode and model. Test that combination at home with a moving subject. Watch shutter speed, aperture and ISO together as you move from a bright area into a darker one.
Do not choose the ceiling from a universal number found online. Photograph fine textures and dark surfaces at several ISO settings. Keep final brightness comparable and inspect files with the same processing. Aggressive noise reduction may hide grain while smoothing fur, fabric and small lettering. Compare the information retained, not simply the cleanliness of an even surface.
Processing has limits
Apply noise reduction cautiously, then inspect edges and textures. A perfectly smooth result is not automatically more accurate. Keep the original file and export a separate version for its intended use. If shadows repeatedly need heavy lifting, review lighting and exposure during the next shoot. More usable light on the subject often solves more problems than a stronger software slider.