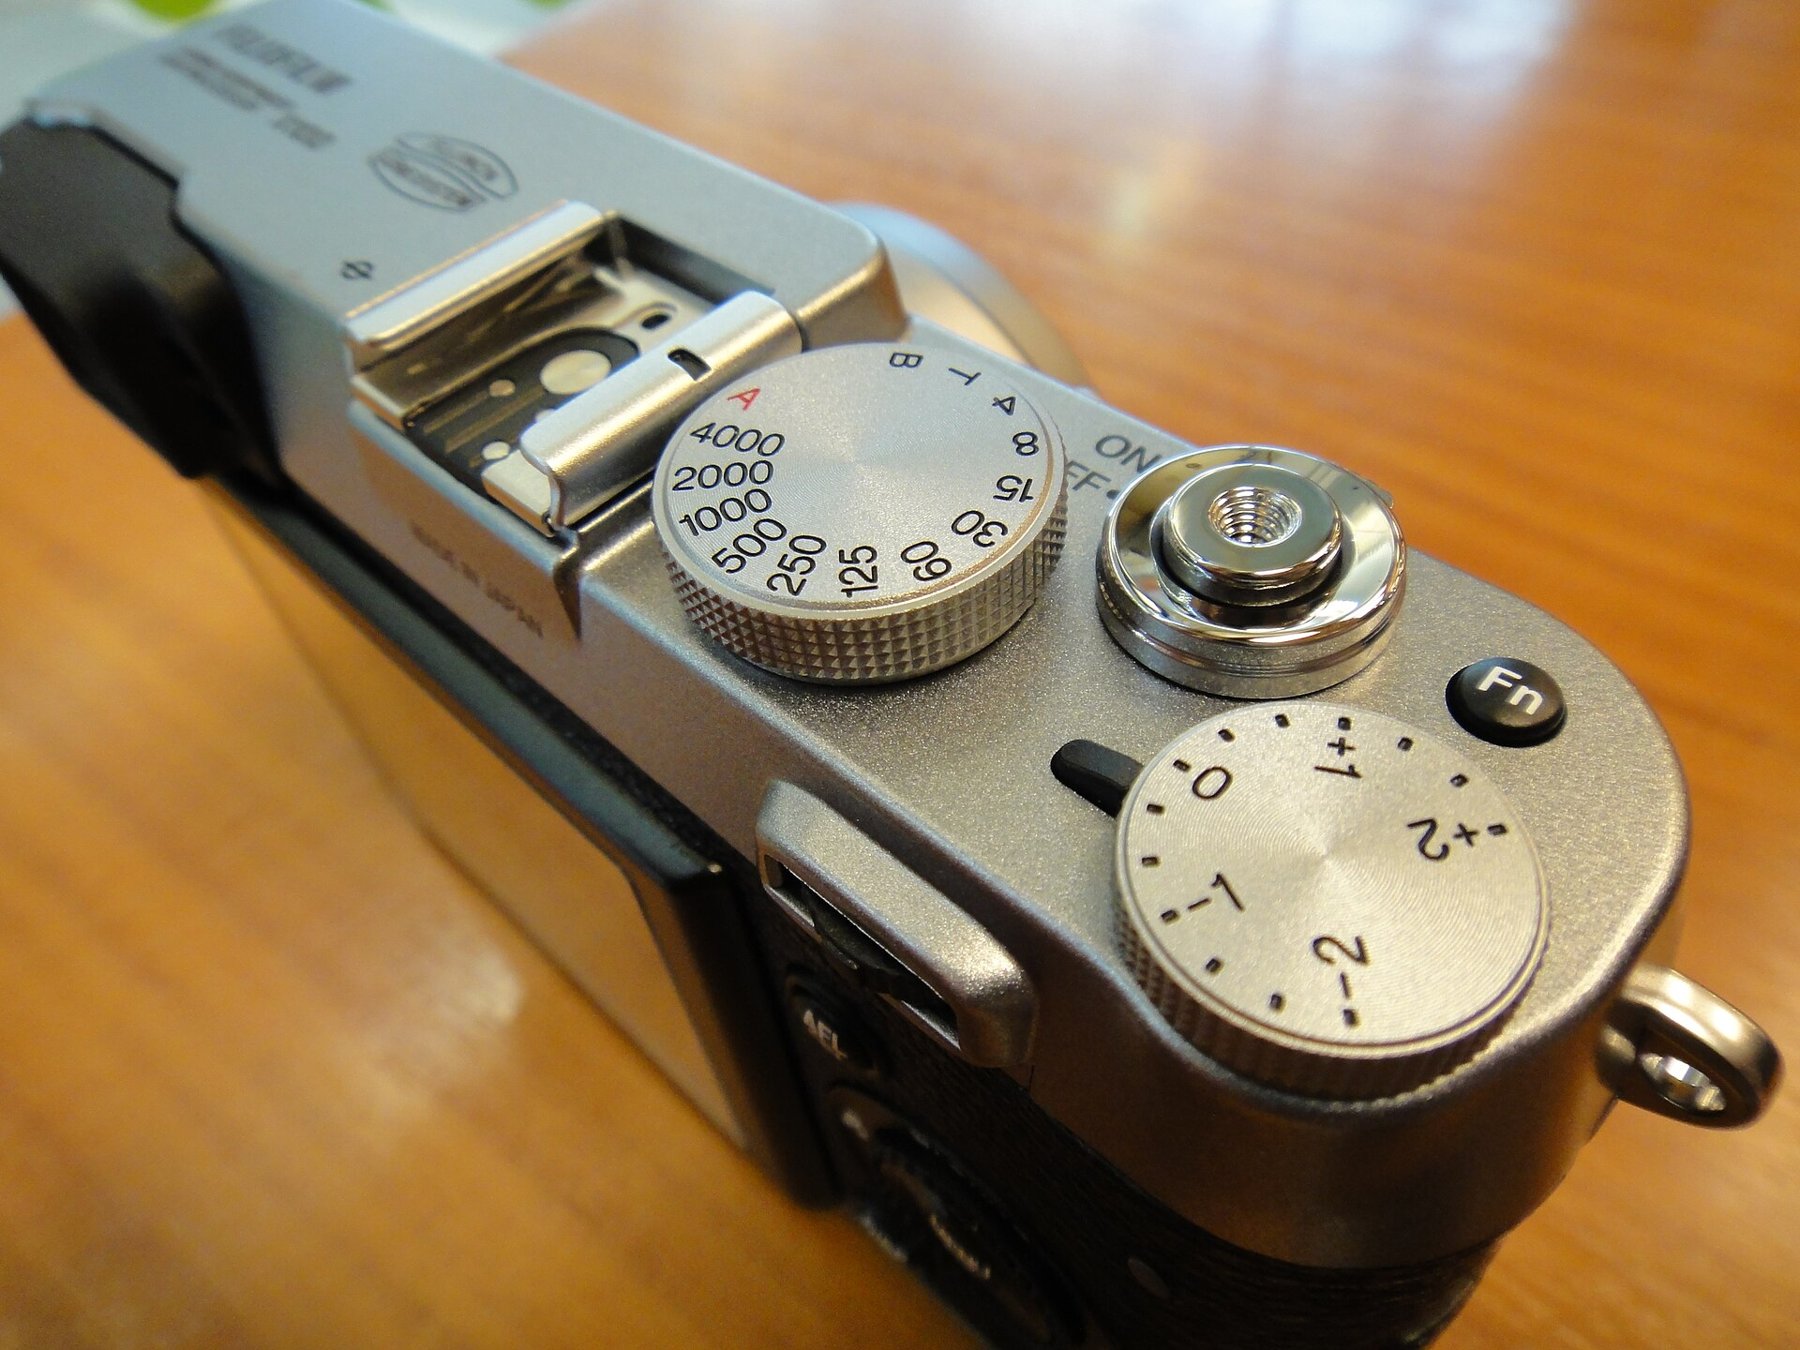
Exposure compensation tells the camera to make the result brighter or darker than its current metering decision. It is particularly useful when a bright setting looks grey or a dark subject is rendered too light. A value of +1 EV means one stop brighter; −1 EV means one stop darker. Which capture setting changes to achieve this depends on the selected mode.
What the camera actually changes
In aperture priority with fixed ISO, aperture stays unchanged and exposure time moves. Positive compensation can therefore make motion blur more likely. In shutter priority, aperture normally changes while the lens still has room to adjust. With Auto ISO, the ISO setting may also be involved. Watch the values in the viewfinder rather than only the plus symbol.
In manual mode with fixed shutter speed, aperture and ISO, compensation cannot automatically change any of those values. Depending on the camera, it may only shift the exposure indicator’s reference. In M with Auto ISO, however, it can act through ISO. That combination is model-dependent; a short test using an evenly lit wall shows what your camera actually does.
From a test frame to the right adjustment
Start with an uncompensated frame. Check the important subject detail and histogram. If a white dress looks dull grey, increase exposure in small steps, perhaps one-third or two-thirds of a stop. Recheck the fabric texture. The aim is not the brightest possible screen but plausible white with the detail you want.
For a dark jacket against a dark wall, negative compensation may help keep the scene dark. A bright background behind a face is more complicated: extra exposure may improve the face while clipping the sky. Compensation changes the whole image, not just the selected face. Excessive contrast requires different light or additional fill.
Recheck after changing subjects
Many cameras retain compensation for the next photograph. A setting chosen for snow can therefore brighten a later indoor image unexpectedly. Check the value after substantial lighting or subject changes and reset it deliberately. Even a change in framing can alter the meter’s decision. For a sequence under constant illumination, fixed manual settings can sometimes be more consistent than repeatedly correcting a changing automatic exposure.