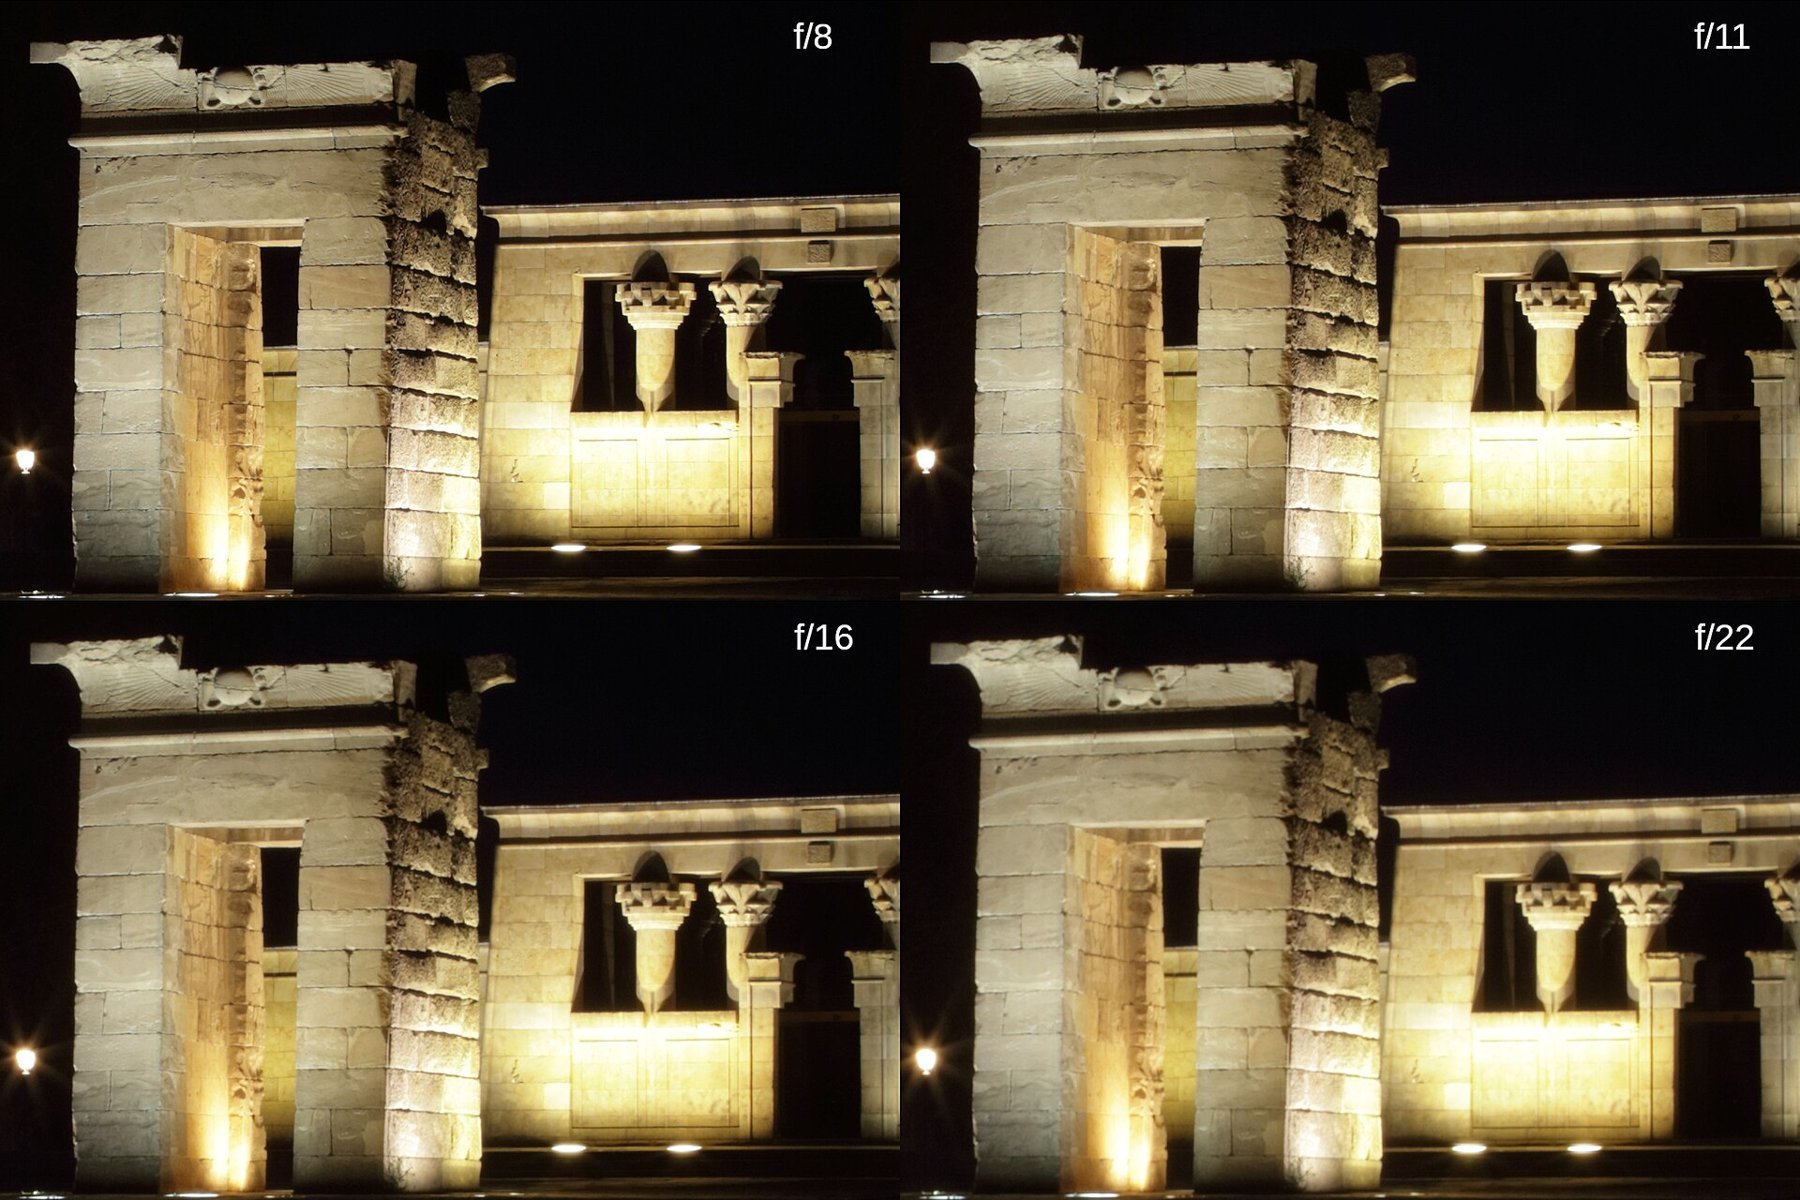
A landscape at f/22 can look more consistently sharp from foreground to horizon yet show less fine detail than a frame at f/8. This is not a contradiction. Stopping down increases depth of field while diffraction increasingly softens the finest structures. Choosing an aperture means balancing both effects against the depth of your subject.
What happens at the opening
Light behaves as a wave and diffracts as it passes through a finite opening. An ideal point is therefore not rendered as a mathematically perfect point but as a small diffraction pattern. As f-number rises, that pattern grows on the sensor. Closely spaced details lose contrast and become harder to distinguish.
Diffraction does not suddenly begin at a particular aperture. It is always present; its visible importance increases. A universal rule such as “never go beyond f/11” is therefore too crude. Sensor resolution, output size, viewing distance and the lens’s other performance characteristics influence when you notice the difference. A large print makes different demands from a small picture on a phone.
A comparison without competing errors
Support the camera firmly and photograph a stationary detailed subject at several apertures. Keep ISO low and constant, compensate brightness with exposure time and prevent vibrations during release. Check focus carefully. A long exposure blurred by camera movement would not provide a meaningful diffraction comparison.
First compare a detail in the focused plane. If it softens at very small openings while nearer or farther areas initially improve, you are seeing the trade-off. Then examine the whole image at the intended output size. A small loss of the finest detail can be worthwhile if an important foreground becomes acceptably sharp as a result.
A foreground stone and a distant house
In a landscape with a nearby stone and a distant house, f/8 may show the house clearly while leaving the stone soft. At f/16, both may become sufficiently readable even though the finest house details look slightly less crisp. Do not base the decision only on a small crop of the house. Compare the whole image at its planned output size: more usable depth may matter more than maximum local detail.
If even f/16 fails to include the stone convincingly, reconsider the composition. A slightly higher or more distant position may avoid the extremely close foreground. Another stone farther away might serve the same visual purpose. This gains usable depth without closing the aperture to its smallest value. The exact gain depends on distance and angle of view; there is no universally optimal aperture.
A focus bracket is another possibility for a stationary scene, but requires aligned frames and a controlled merge. Moving leaves or water can complicate transitions. Do not choose this method solely for theoretical sharpness if one frame already provides the necessary detail. Every additional processing stage introduces its own potential errors.
Other ways to obtain enough depth
Not every subject requires extreme stopping down. For a tabletop photograph, increase distance slightly and see whether looser framing is acceptable. Align a flat subject plane as closely as possible with the sensor. In a landscape, choosing a less immediate foreground can substantially reduce the required sharpness range. These changes solve the spatial problem rather than merely closing the aperture further.
For stationary subjects, a focus sequence combined afterwards can provide an alternative. It needs sufficiently overlapping sharp regions and careful inspection of transitions. Wind, water and moving people complicate merging. For a spontaneous photograph, a somewhat smaller aperture is often the more robust choice even if it delivers less theoretical maximum resolution.